

After a flop with the version 2.0 of the pendant lamp, of which you can learn in the previous post, I had a brilliant idea: why not search the Interweb for instructions on how to make such lamps? Someone else must have made something similar and put up instructions on youtube! In hindsight, this was the 1st thing I should have done… But hey, better late than never :). Of course I found a bunch of materials. The most useful was this beautiful and instructable video:
After watching this, and many other videos, it was back to the drawing board. Actually, back to my notebook.
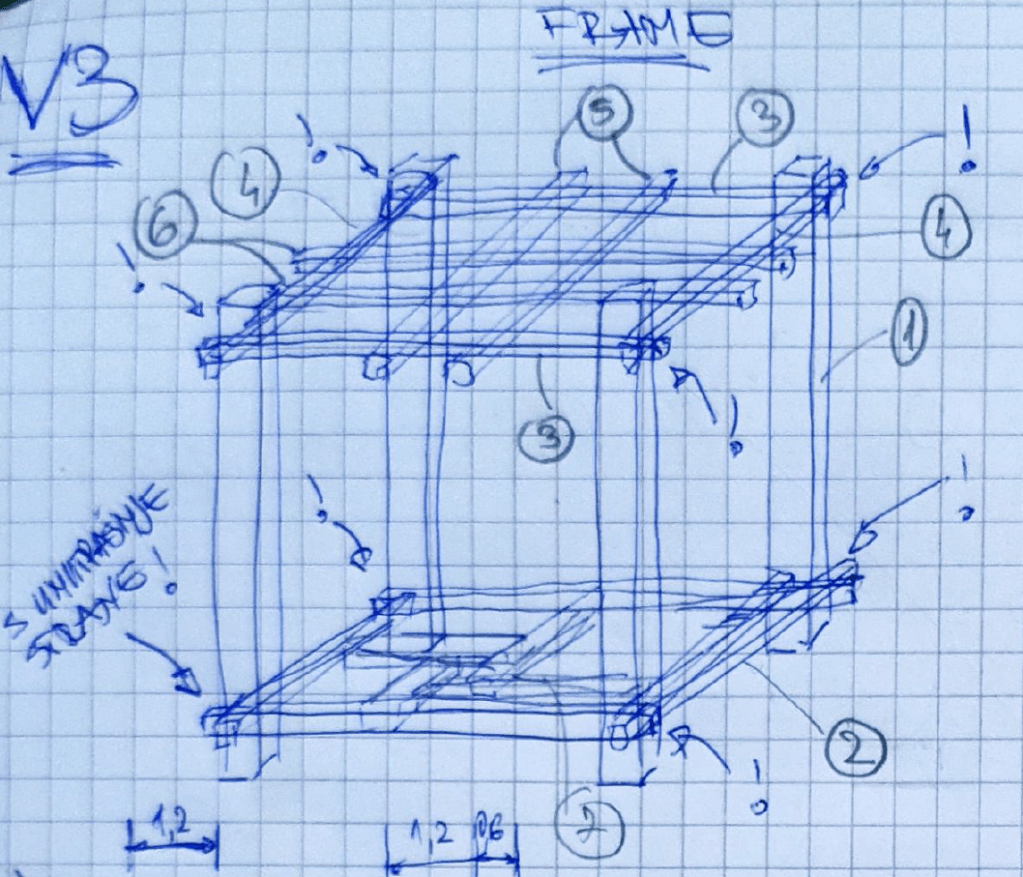
I had a plan, but I needed some more tools and material, so I went shopping. I got myself a mini ryoba, a real japanese saw, one high quality chisel, a sawing block/guide, and some clips. I wanted to accomplish two things with these tools: make more precise cuts and do them in batches.
At this point it was close to the end of 2021. and time to travel for a family holiday reunion. I packed the material and tools on top of the other clutter that always seems to accompany us on our travels and we were off to the holidays in my hometown of Slavonski Brod.
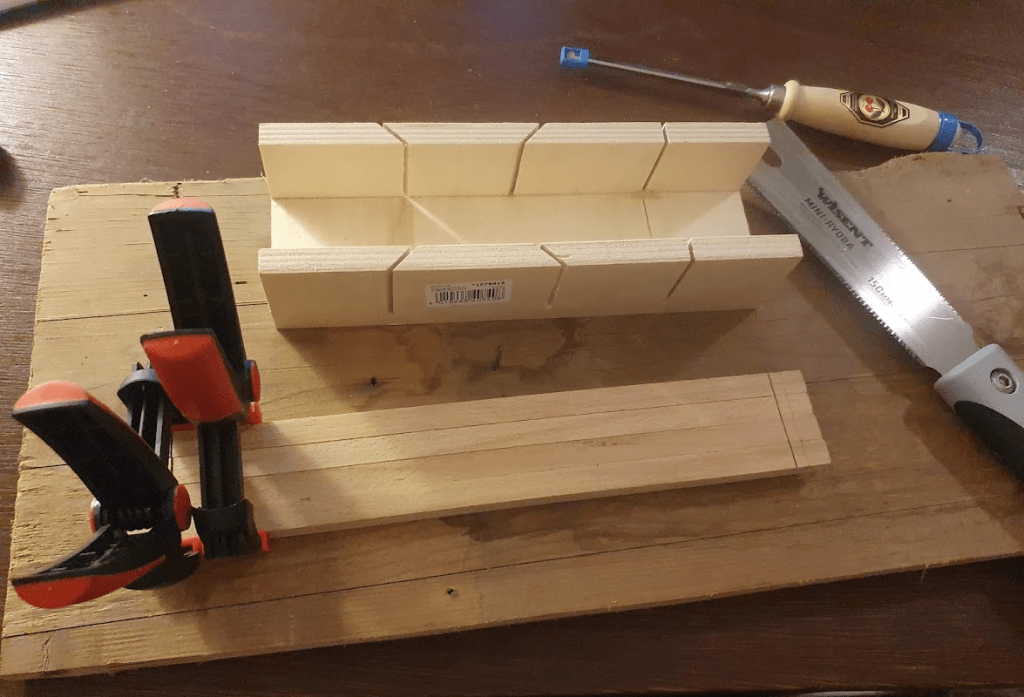
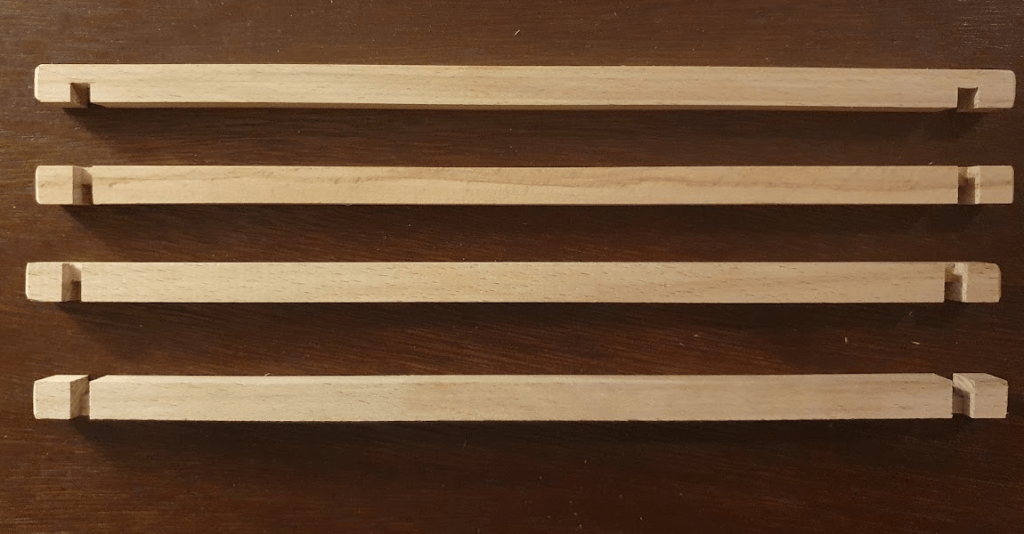
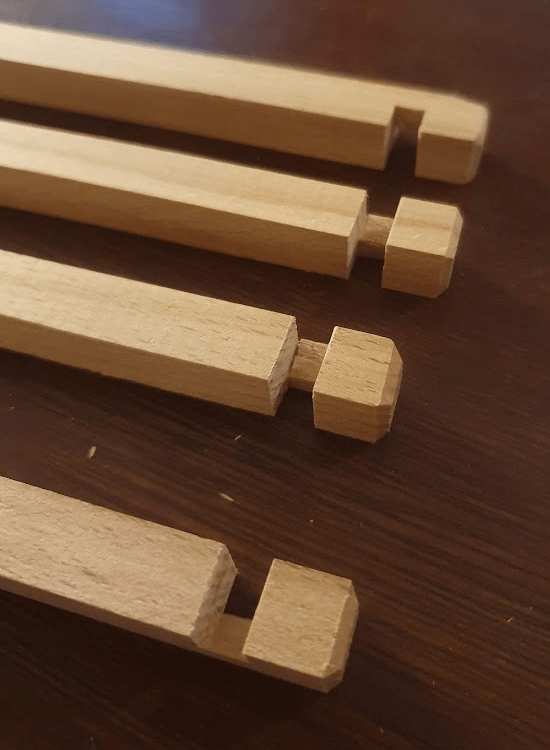
Once there and in breaks between festivities, I started with what I call the “corner pieces” and what I’ve seen called stiles by others. I cut them to length, made chamfers on top and bottom (using the chisel and sandpaper), and two-side slots for top and bottom frames (using the saw and the chisel).
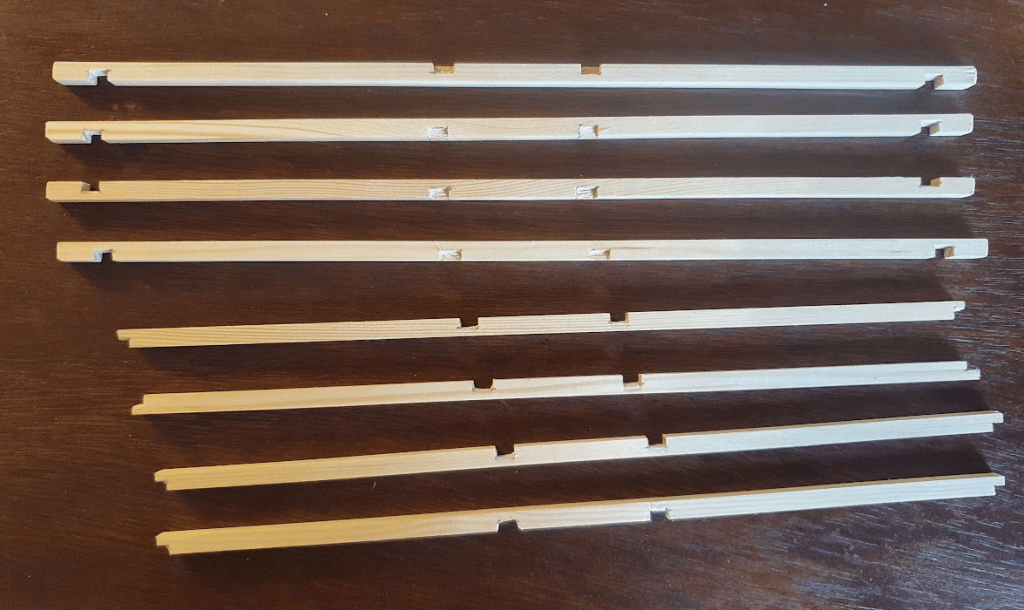
Next, I did the similar for the top and bottom frame. Here, only one-sided slots are needed on the rails. The problem I had here was that my (only) chisel was too wide for the narrow slots so I improvised by making many adjacent cuts with the saw to hollow them out. This was time consuming and the result looks a bit messy, but it worked. And I had another item on my tools shopping list.


The top frame has to have rails to which the bulb socket can be attached to carry the whole thing and the bottom frame needs rails to make the pattern for the opening that enables bulb exchange. This meant making additional shorter rails and cutting slots in the frame rails. This is how I completed the top frame with the bearing rails.
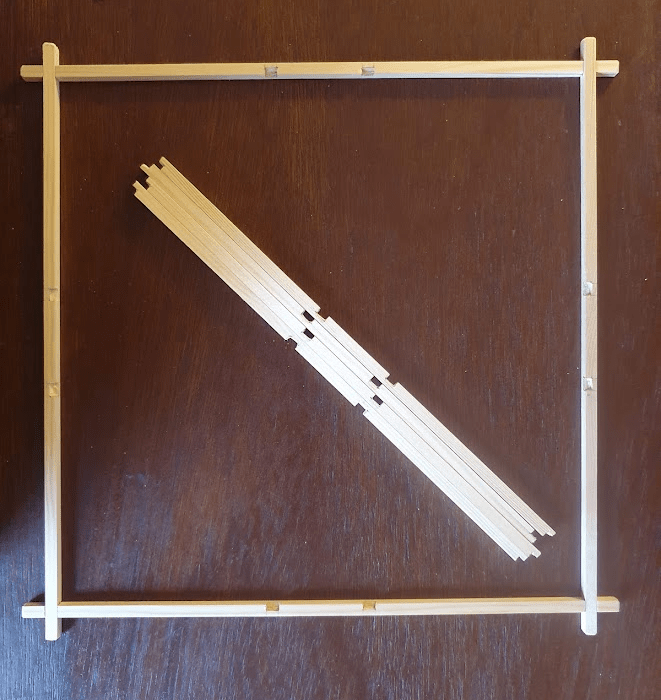

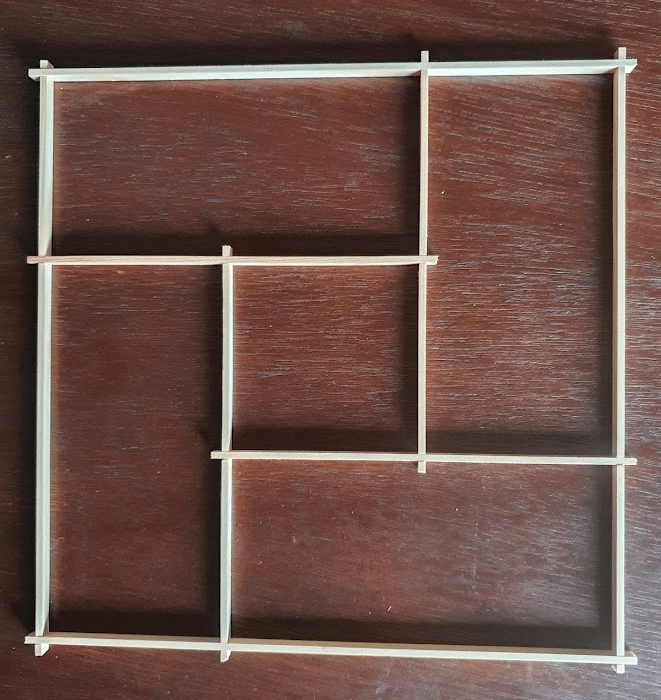
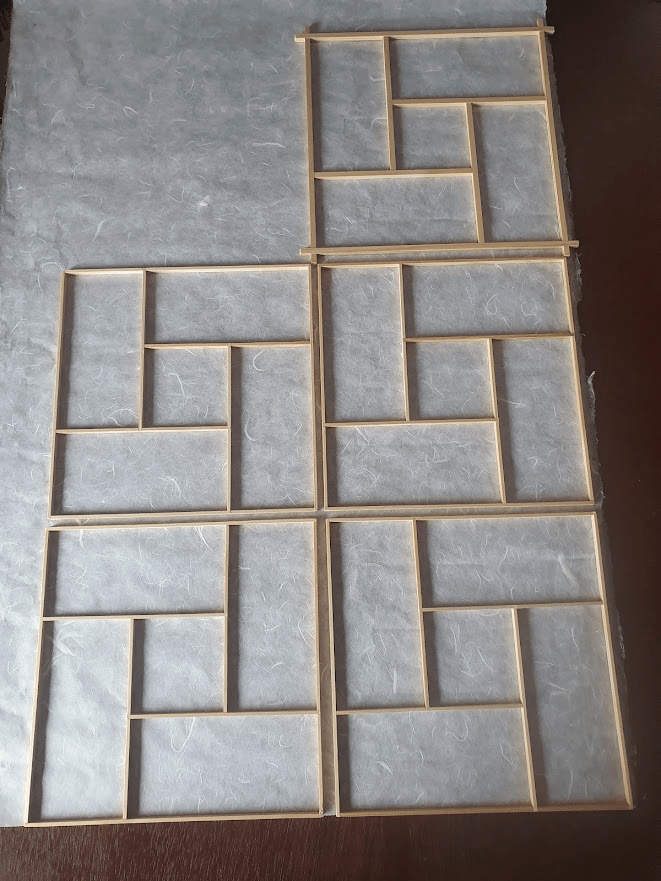
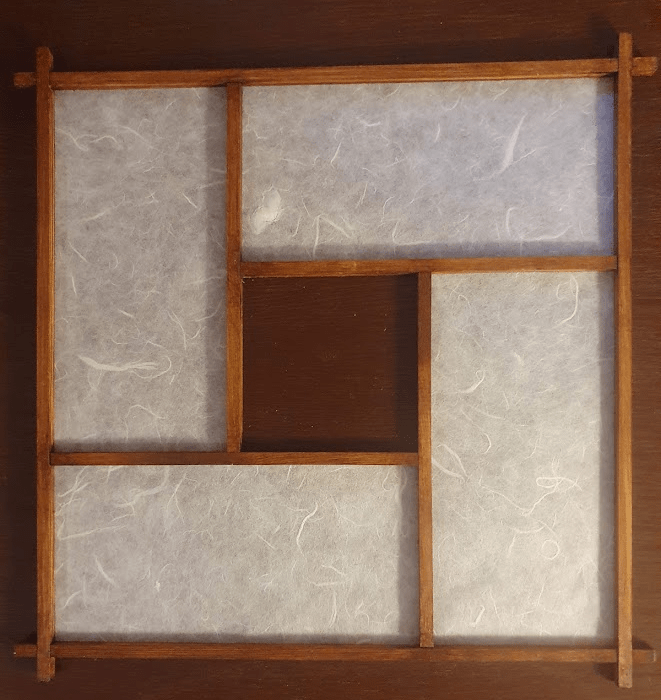
I prepared elements for the kumiko panels in a similar manner. Each panel consists of four “frame elements” and “four pattern elements”, both with slots in appropriate positions.

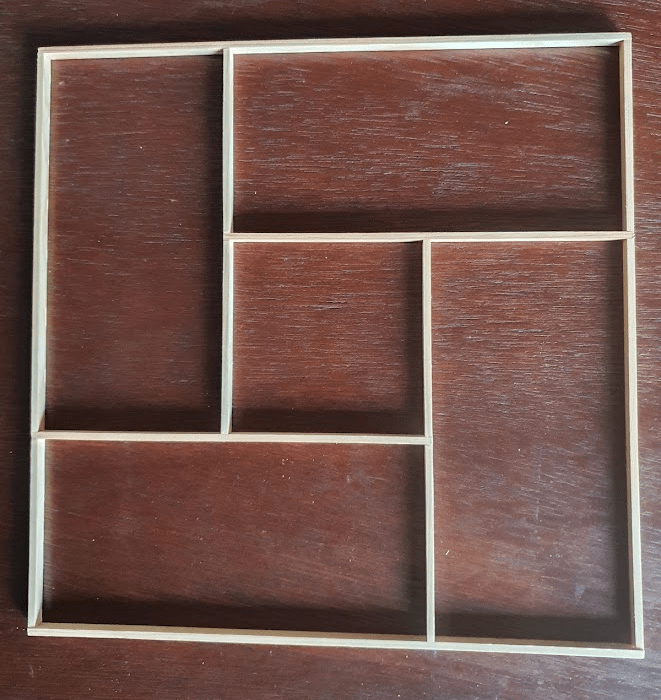
All the elements of the kumiko pattern have some margin on both sides. This makes assembling the panel frame easier and more precise. Once the glue dried, I cut the margins and sanded the joints.
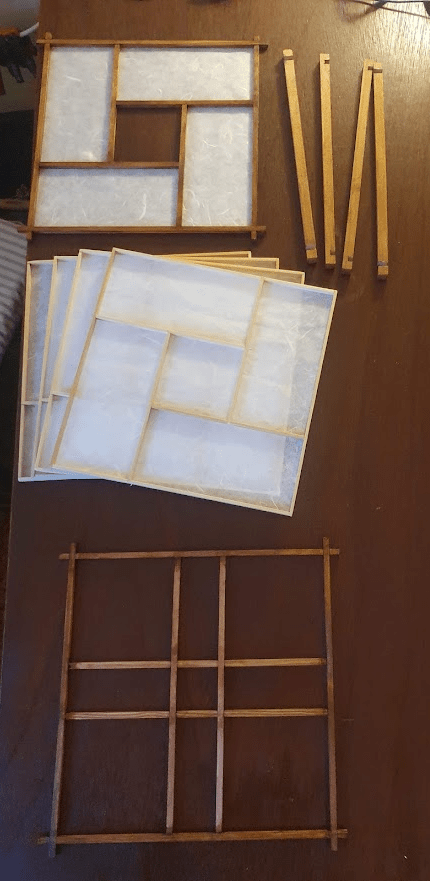
With this I had all the parts of the lamp framework:
- four corner pieces (stiles)
- top and bottom frames
- four kumiko panel frames
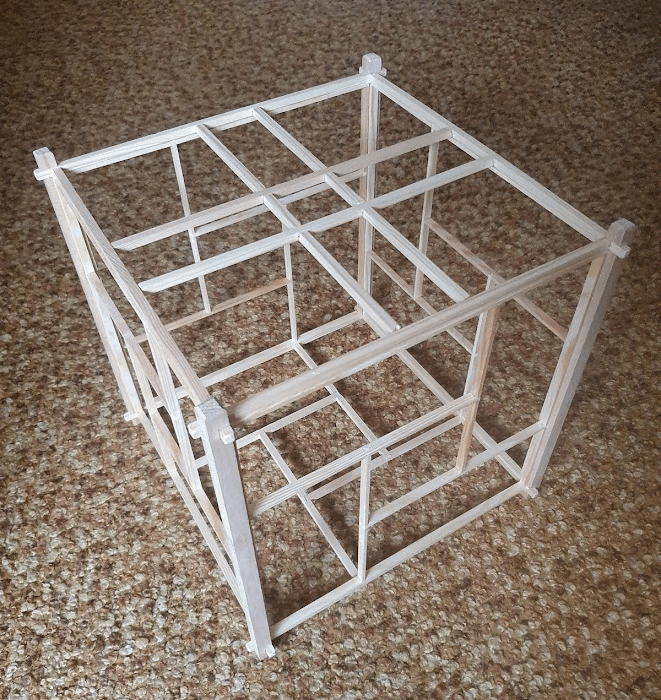
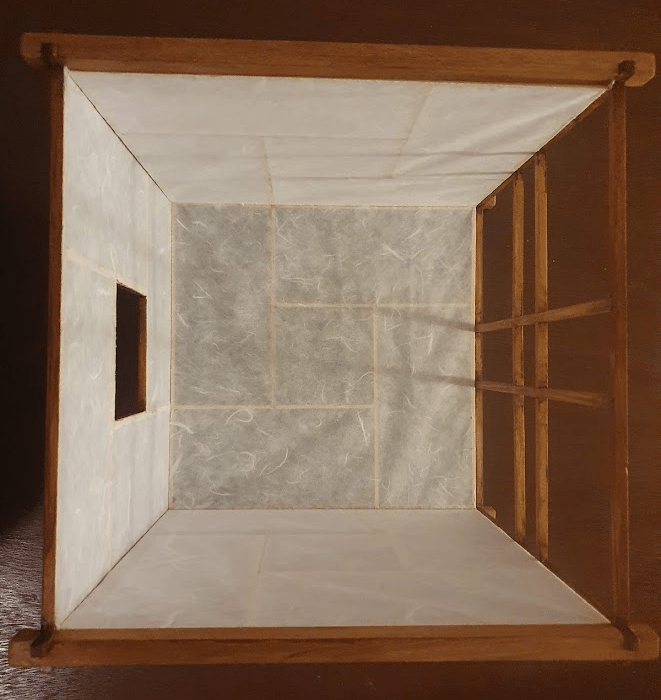
A moment of truth came when it was time to assemble the framework. Will everything fit? It did! Not perfectly but with a little bit of tweaking (much less than for v2) I assembled the frame.
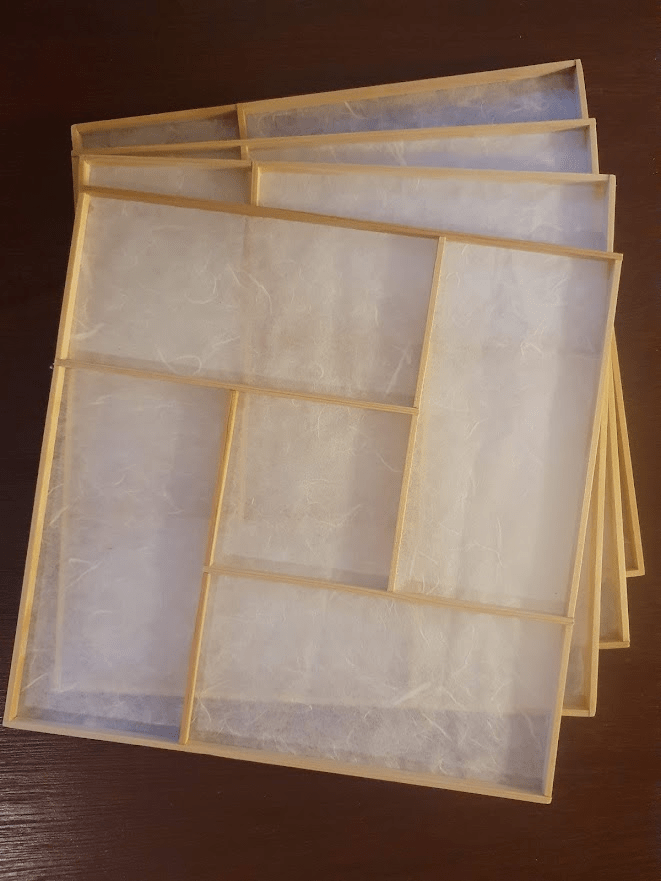
With renewed confidence I proceeded with gluing shoji (rice) paper on the frames of kumiko panels.
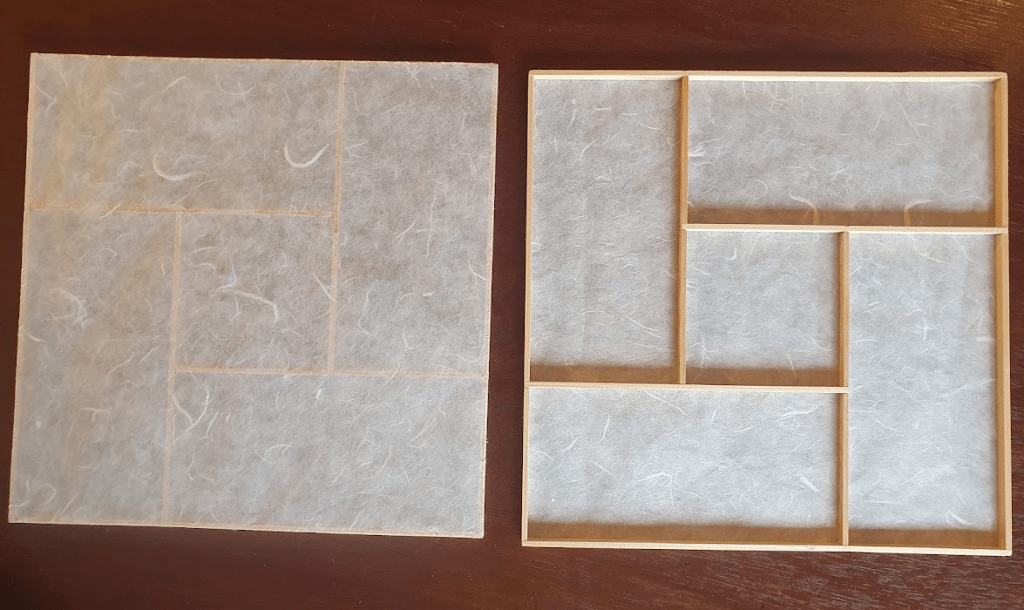
I coated corner pieces, top and bottom frame and glued paper to the bottom frame.
With this, I had all the parts ready and could assemble the lamp.
And voila, the lamp was ready for testing!
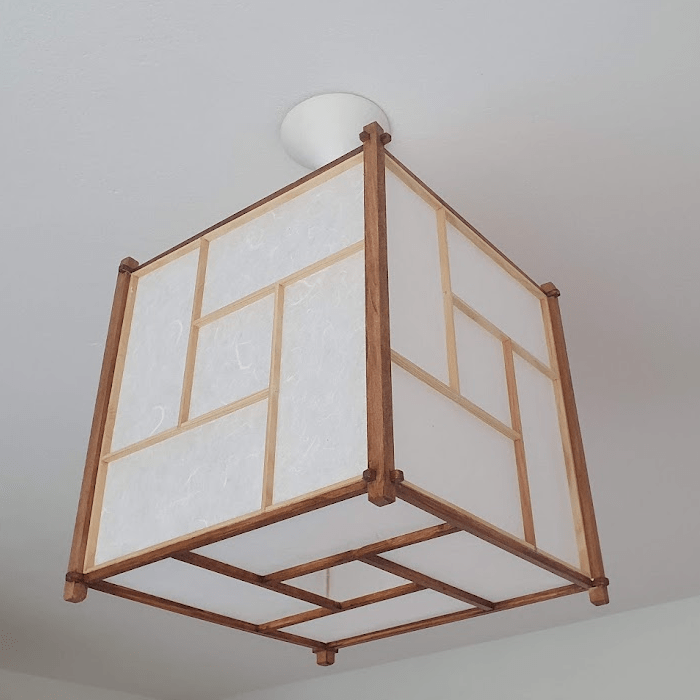
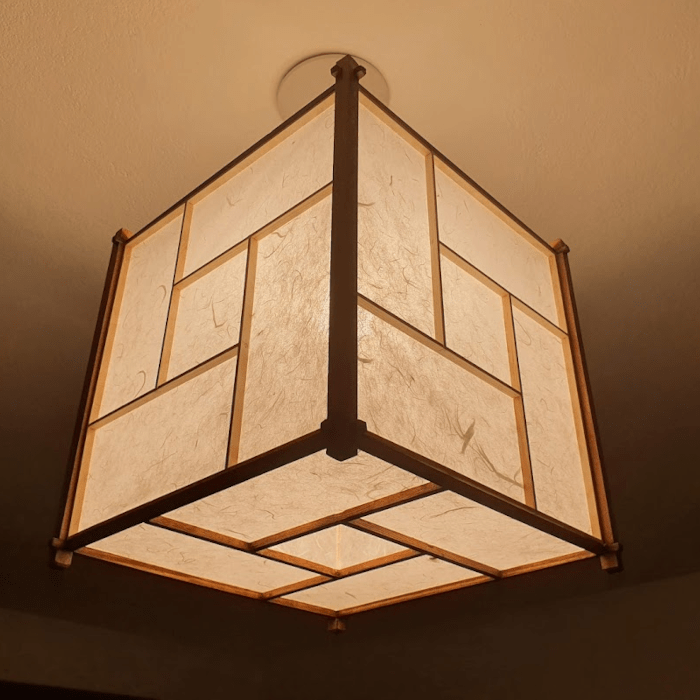
I considered this 3rd prototype to be a raging success. It was a lot of fun making it and it looked good. I believed I was ready for series production, but more on that in the next post…
Previous post form the origin series

Leave a comment