
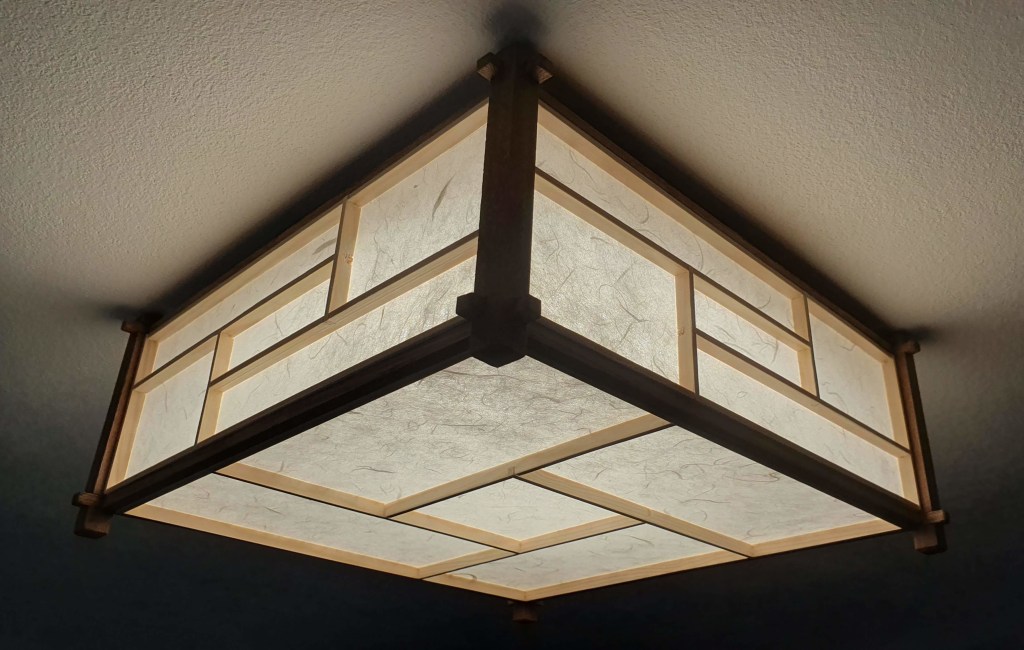
What I promised several times (here and here), I finally did. I made a lamp! Now PapeRanpu portfolio includes, besides the Pendant, also a Ceiling. Still a prototype though so don’t rush for your checkbook, it is not available for sale yet. In this post, I’ll show you how I made it, how I installed it, and what it looks like.
The process, as usual, started with a sketch which I made quite a long time ago, even before the cardboard boxes adventure.
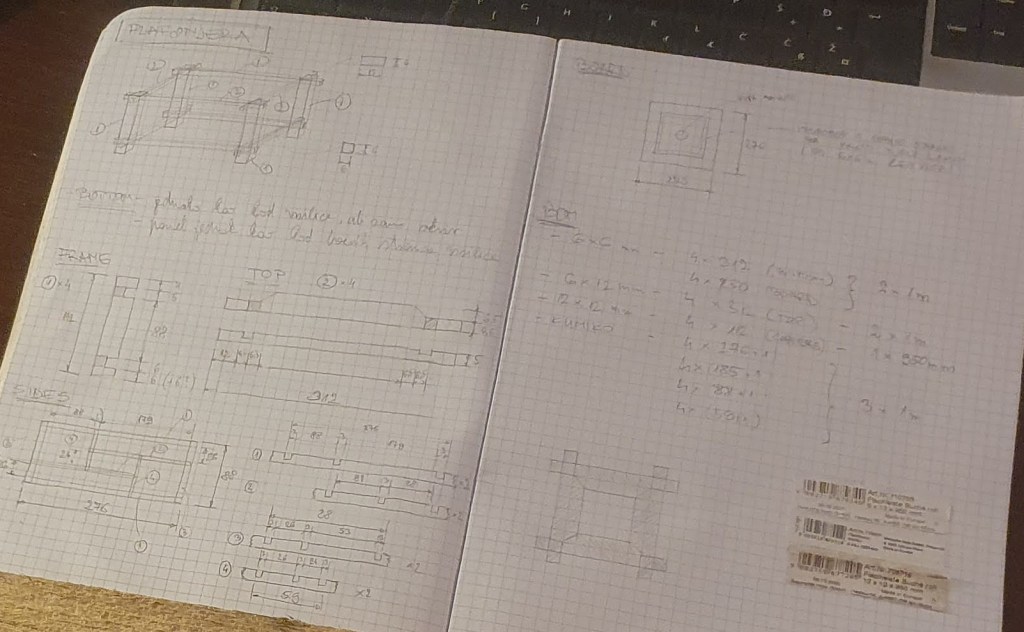
Different distractions kept me busy and away from this idea. I reported on some of them on this blog. End of the year crept up and it was time for a seasonal migration to my hometown, to spend the holidays with family and old friends. Similar to what I did last year, I bought material, packed it together with the notebook and (almost all) the tools into an overflowing automobile and drove all this together with my wife, kids and the dog a few hundred kilometers east.
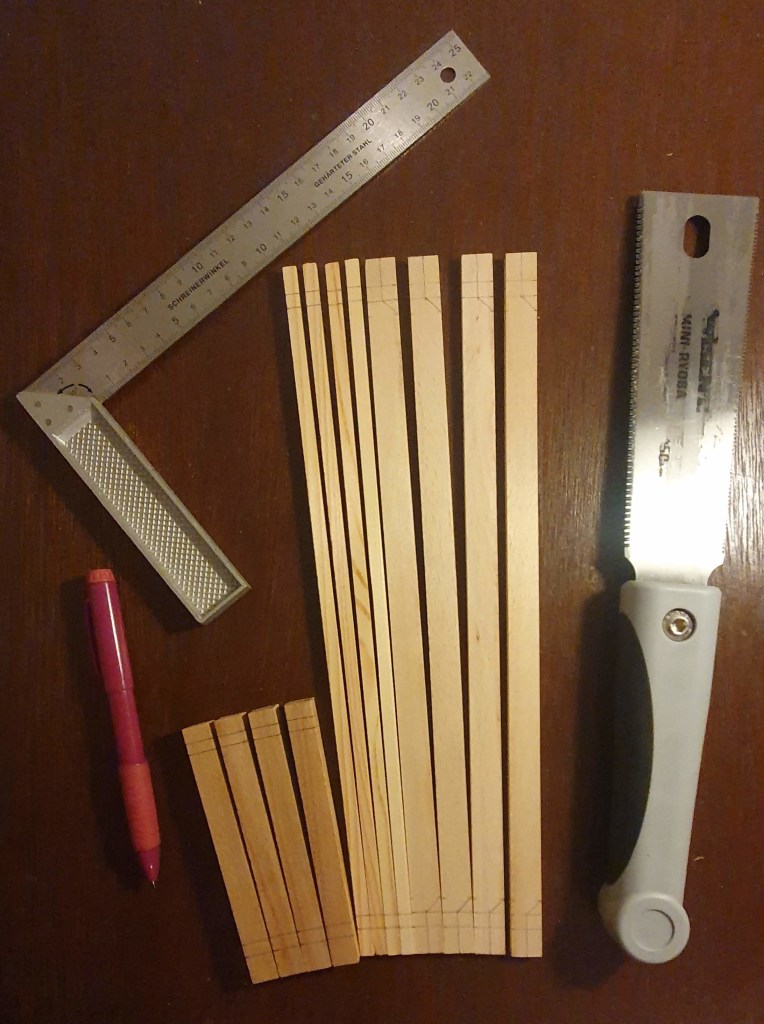
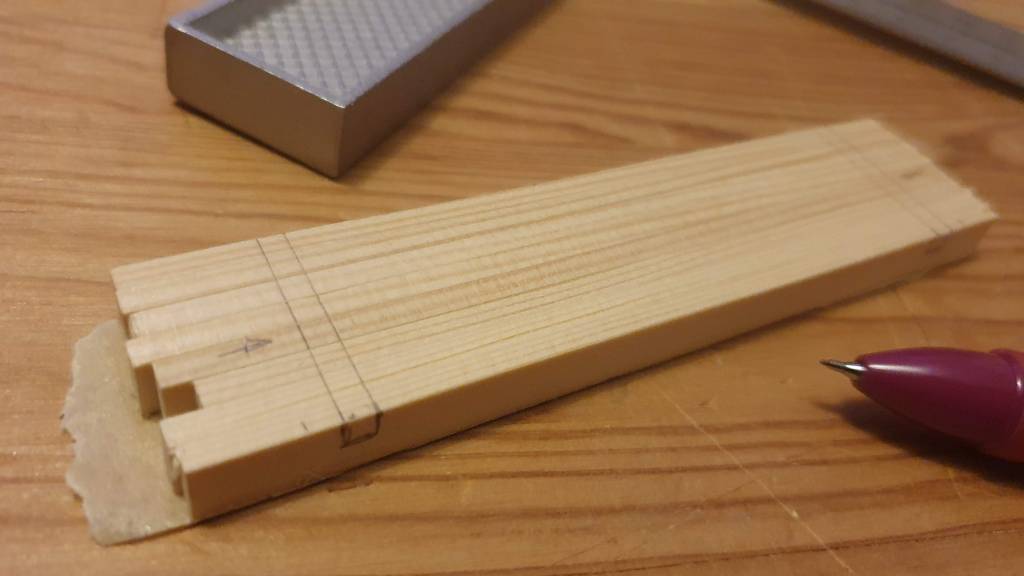
Manufacture started with cutting and marking out elements of the frame.
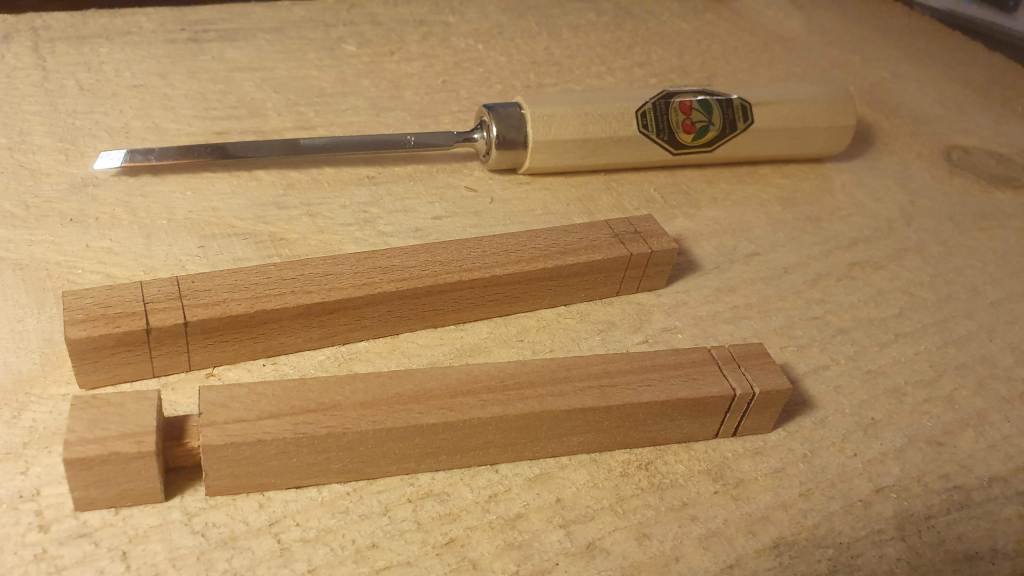
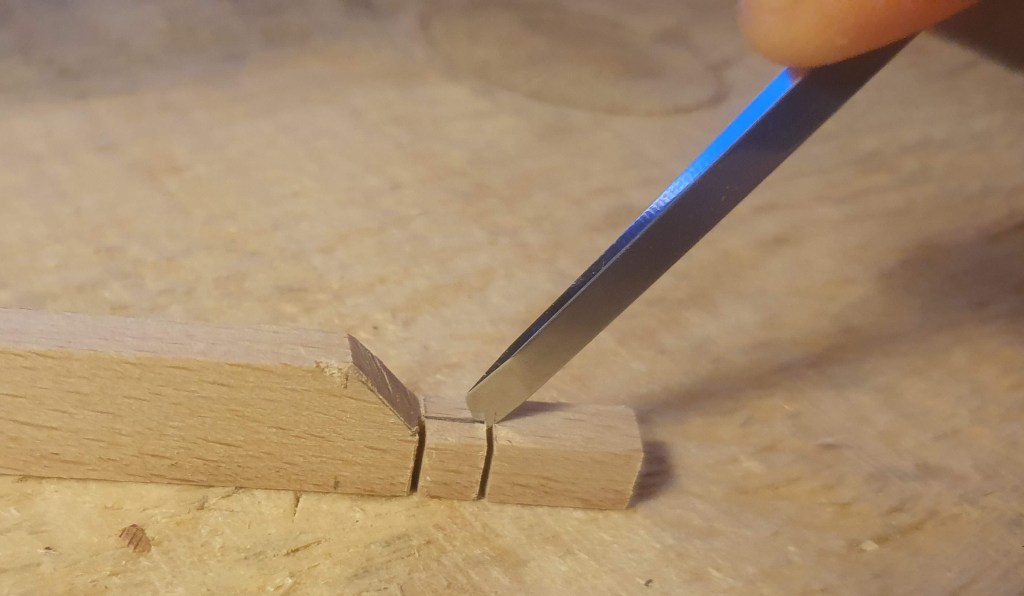
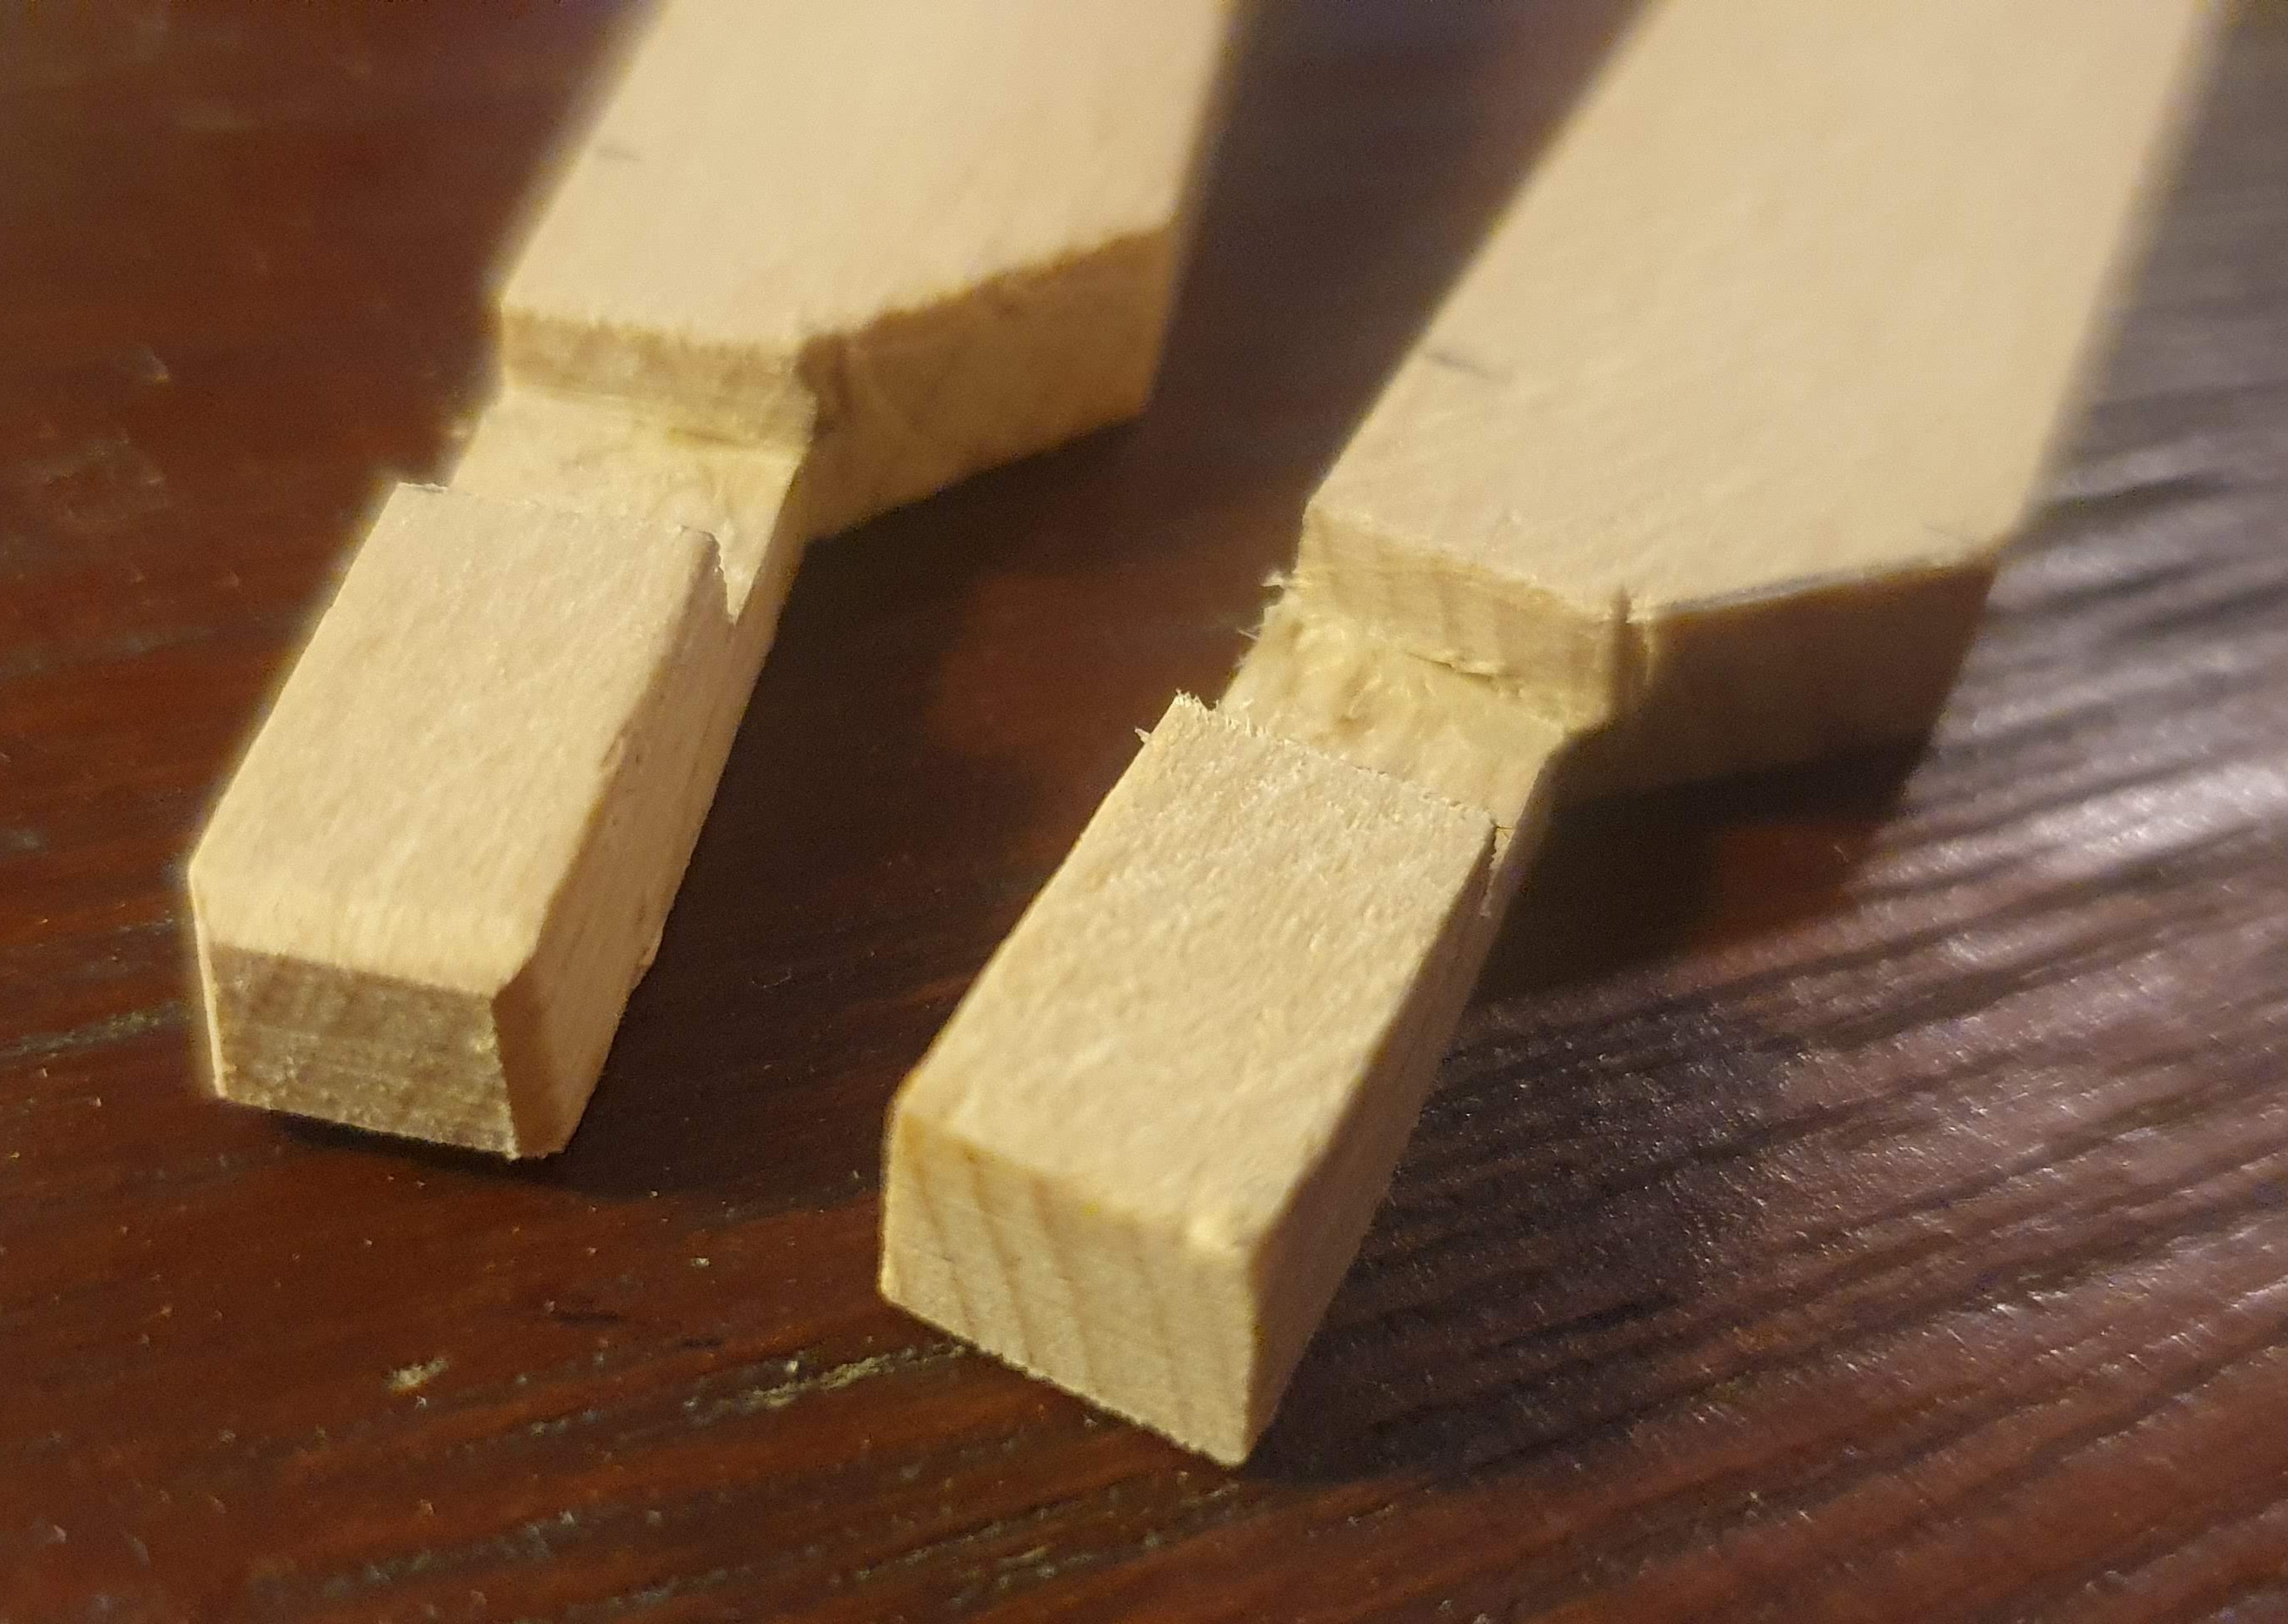
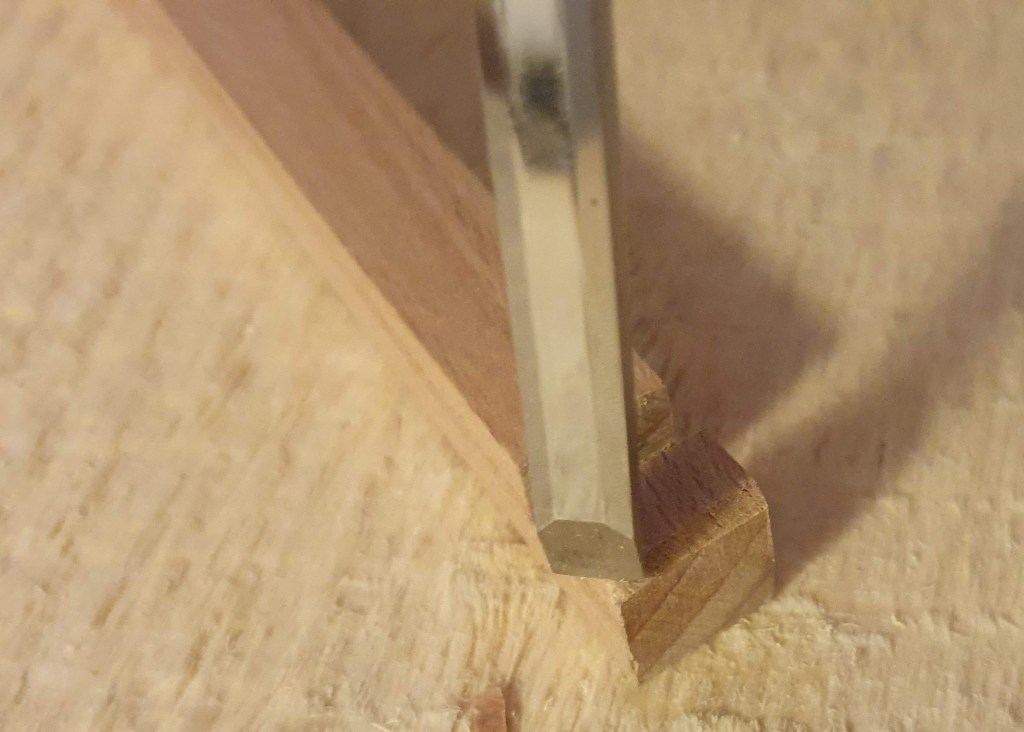
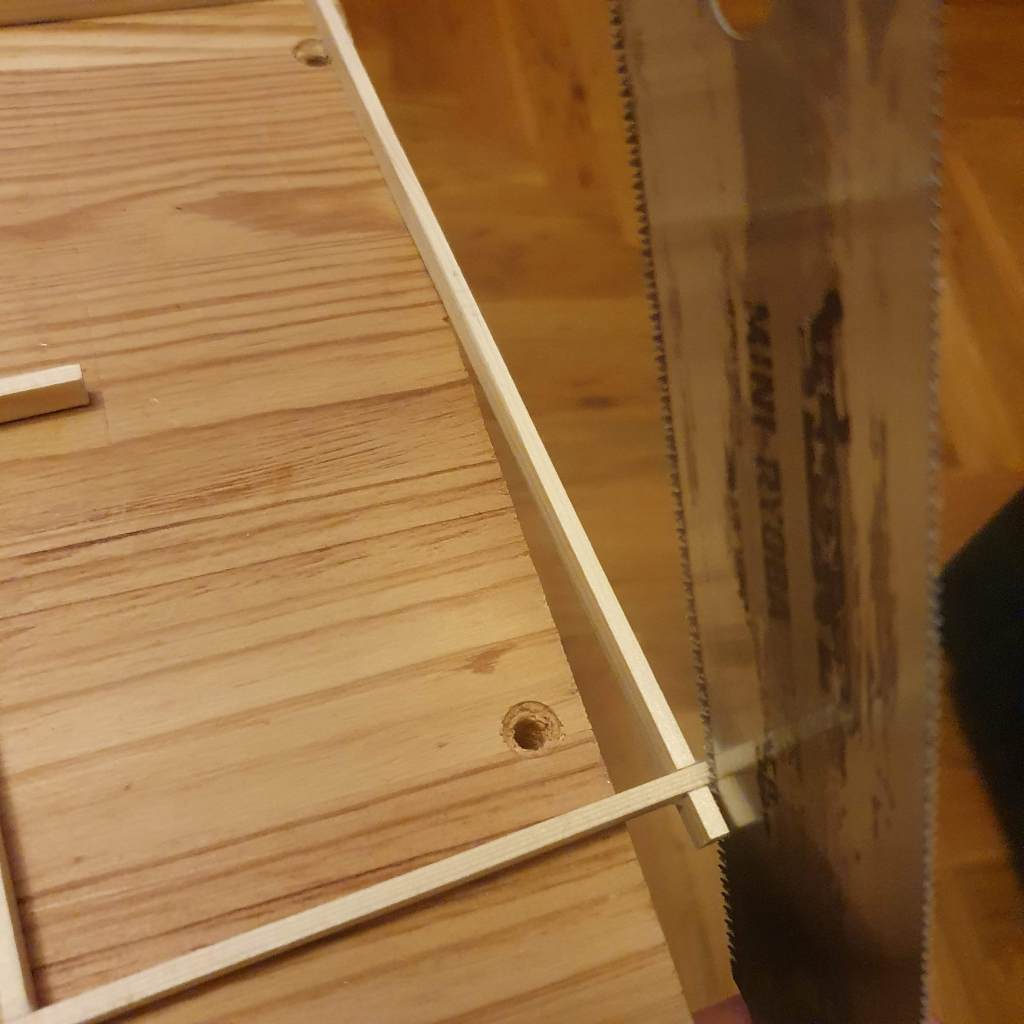
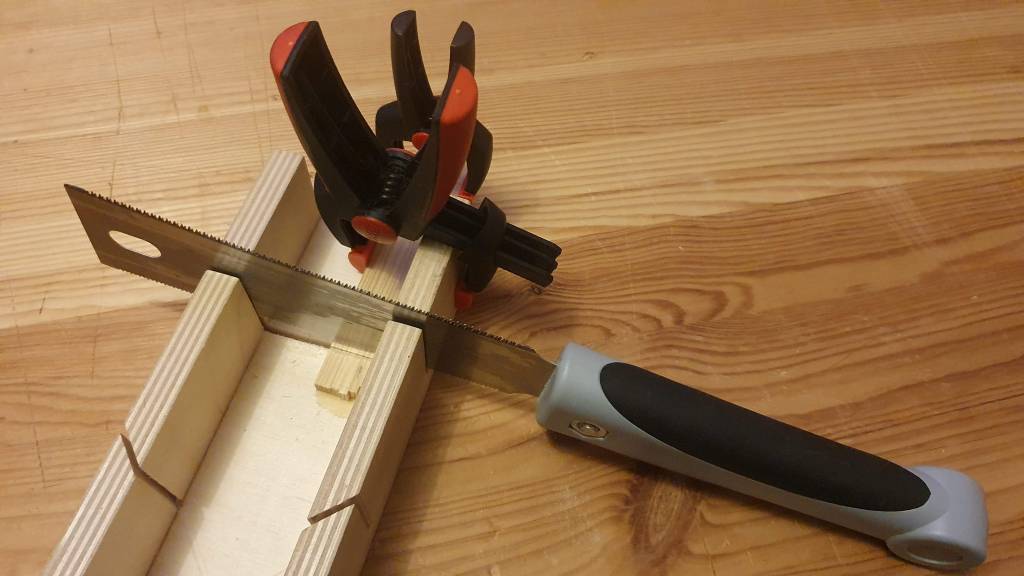
I made slots in stiles (the corner pieces) by first making cuts with the saw and then removing the excess material using the chisel.
Cutting the shape on the elements of the top frame proved not to be straight forward.
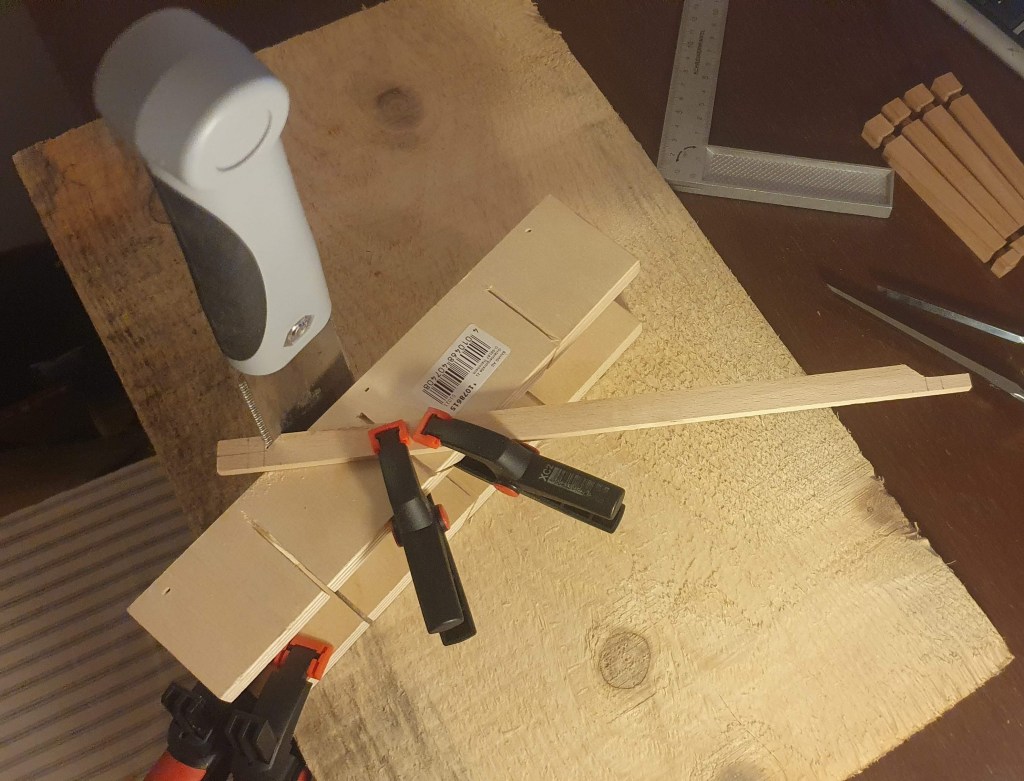
Once I cut the shapes, it was time to make the slots. Same process as for the stiles, fist the saw and then the chisel.
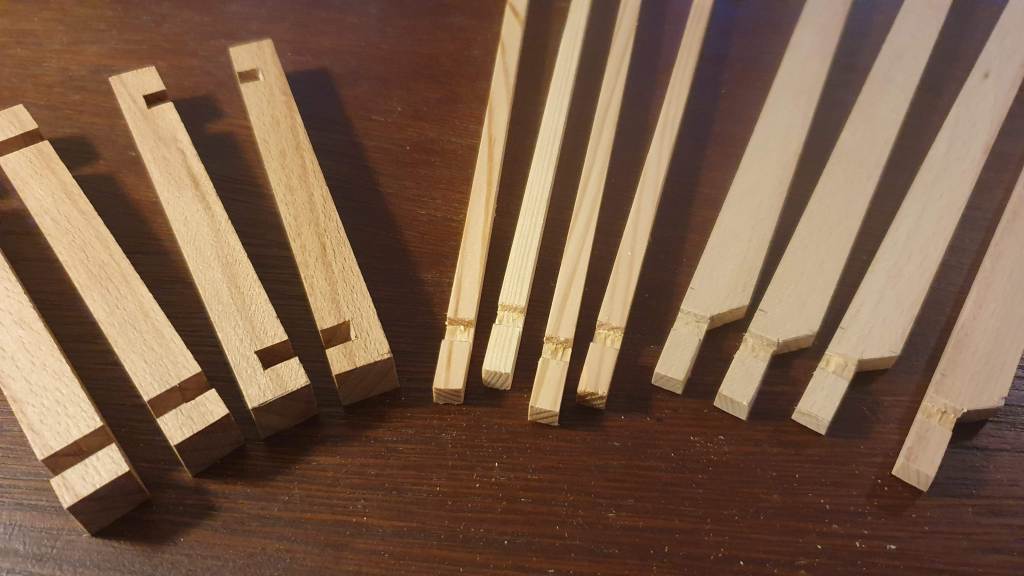
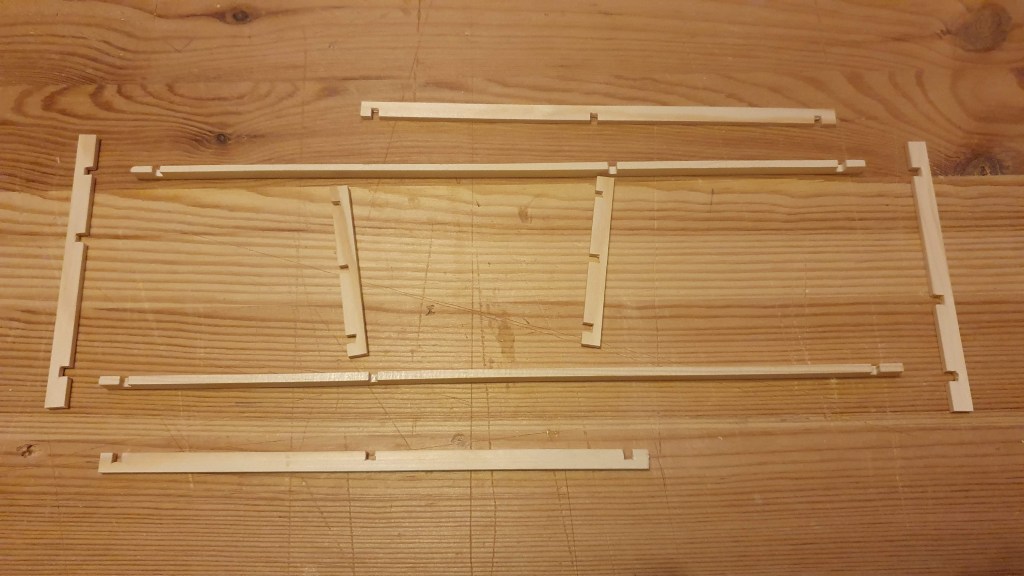
I did this on all the elements of the frame: stiles and elements of the top and bottom frame.
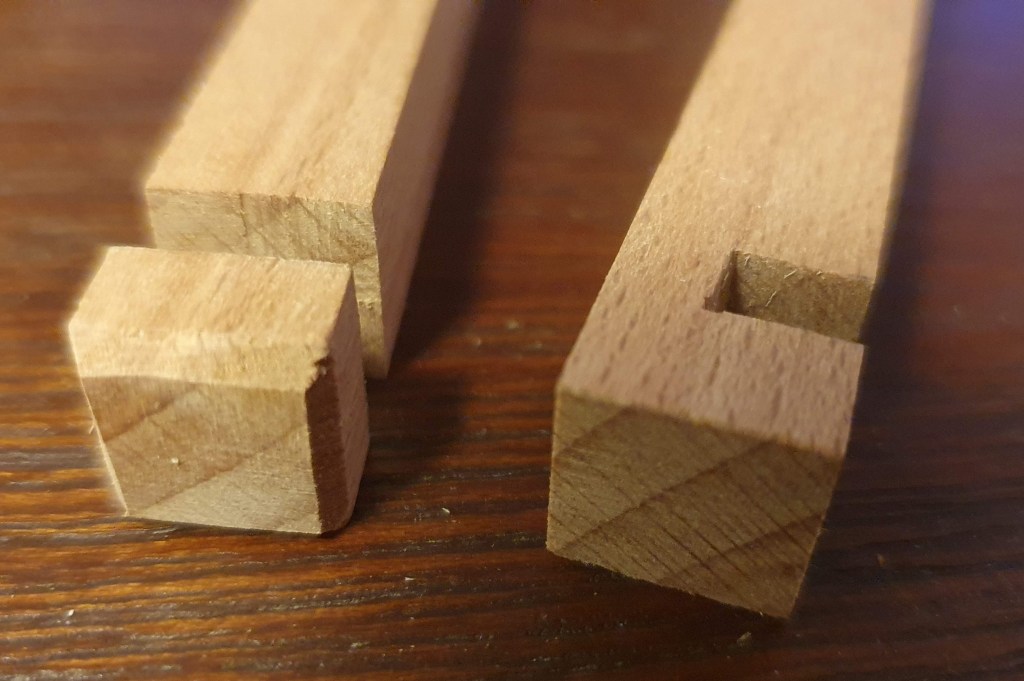
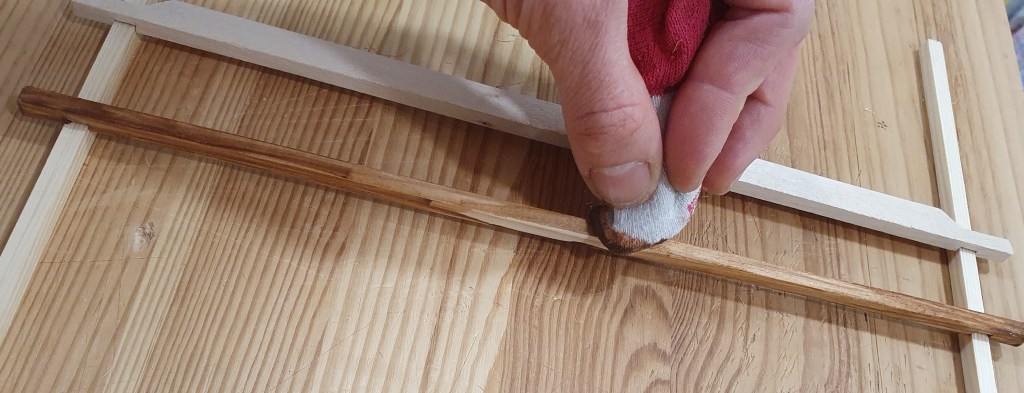
Next it was time to do the chamfers. On the elements of the top and bottom frame I did this using sandpaper.
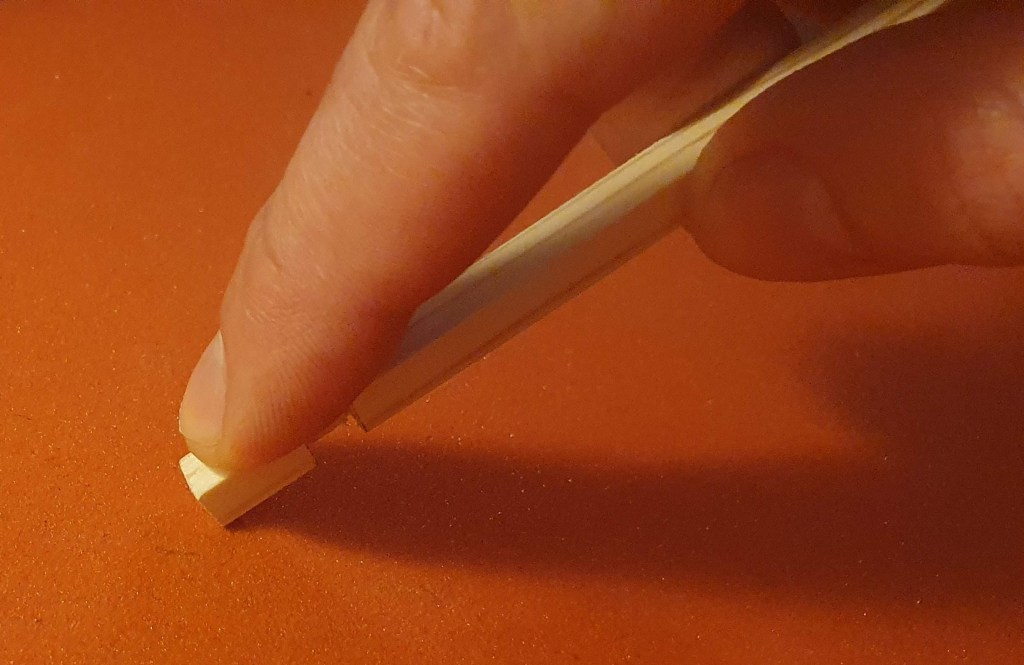
They look much better with chamfers.
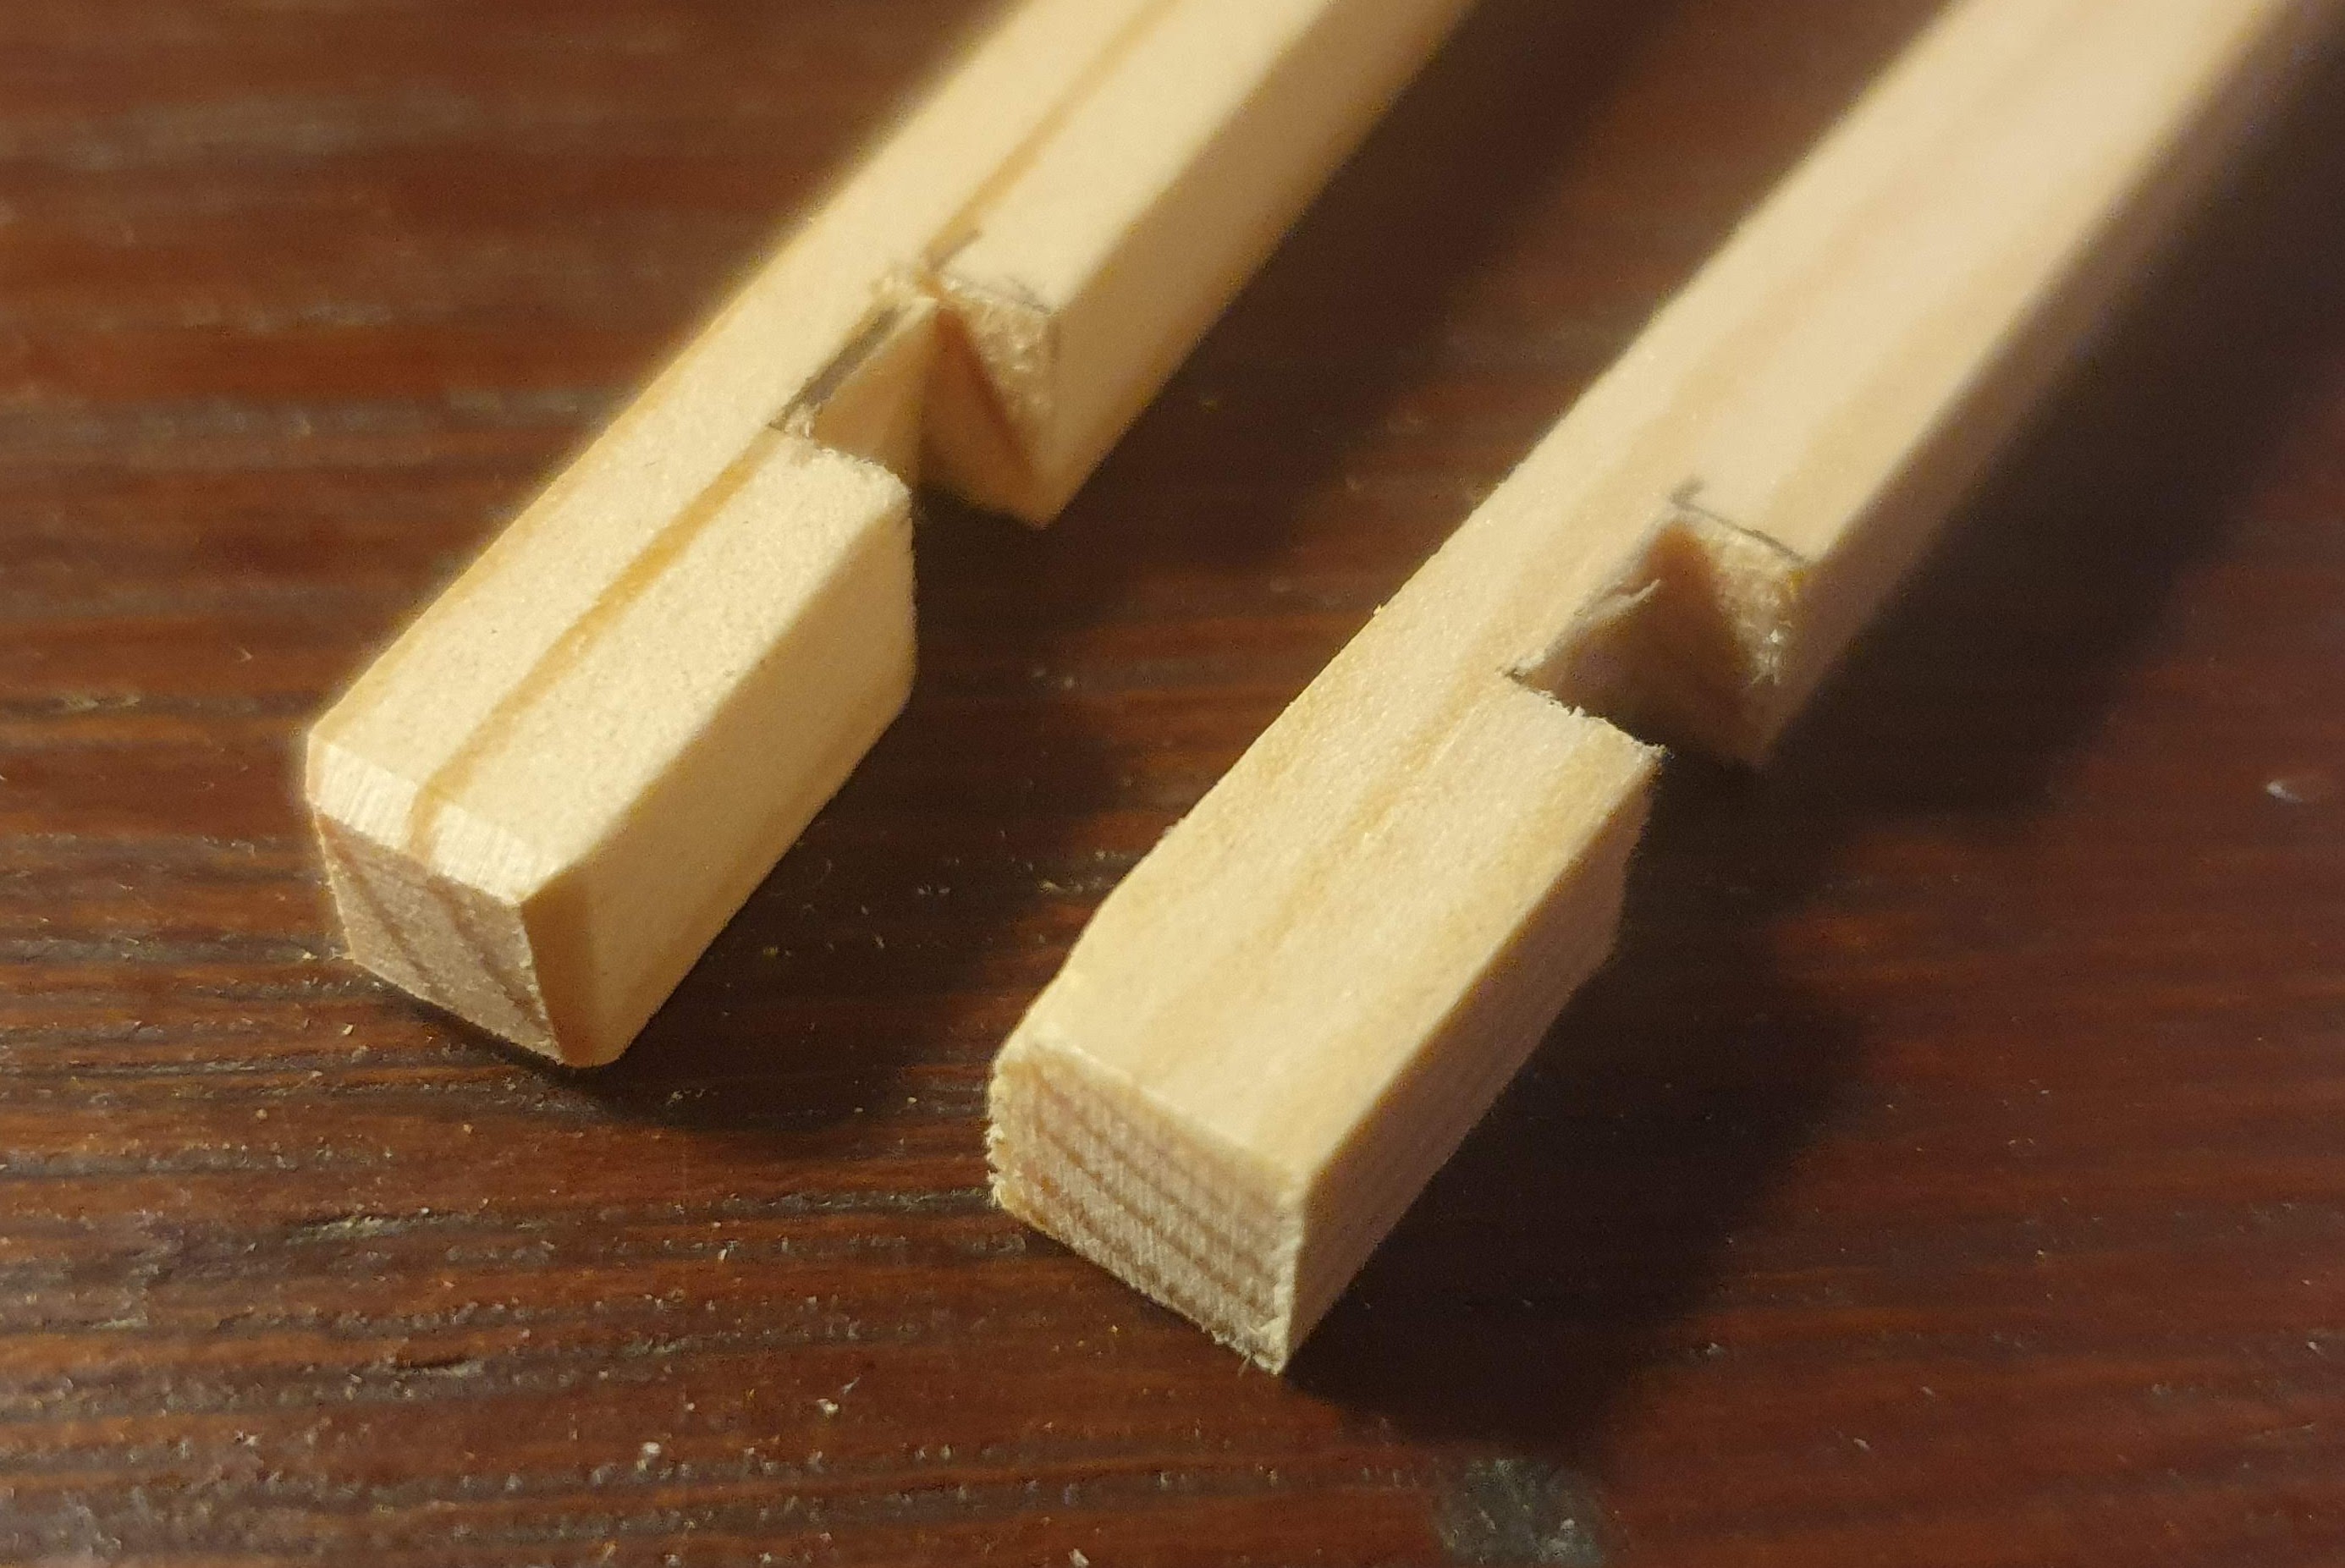
I did the chamfers on the stiles with the chisel.
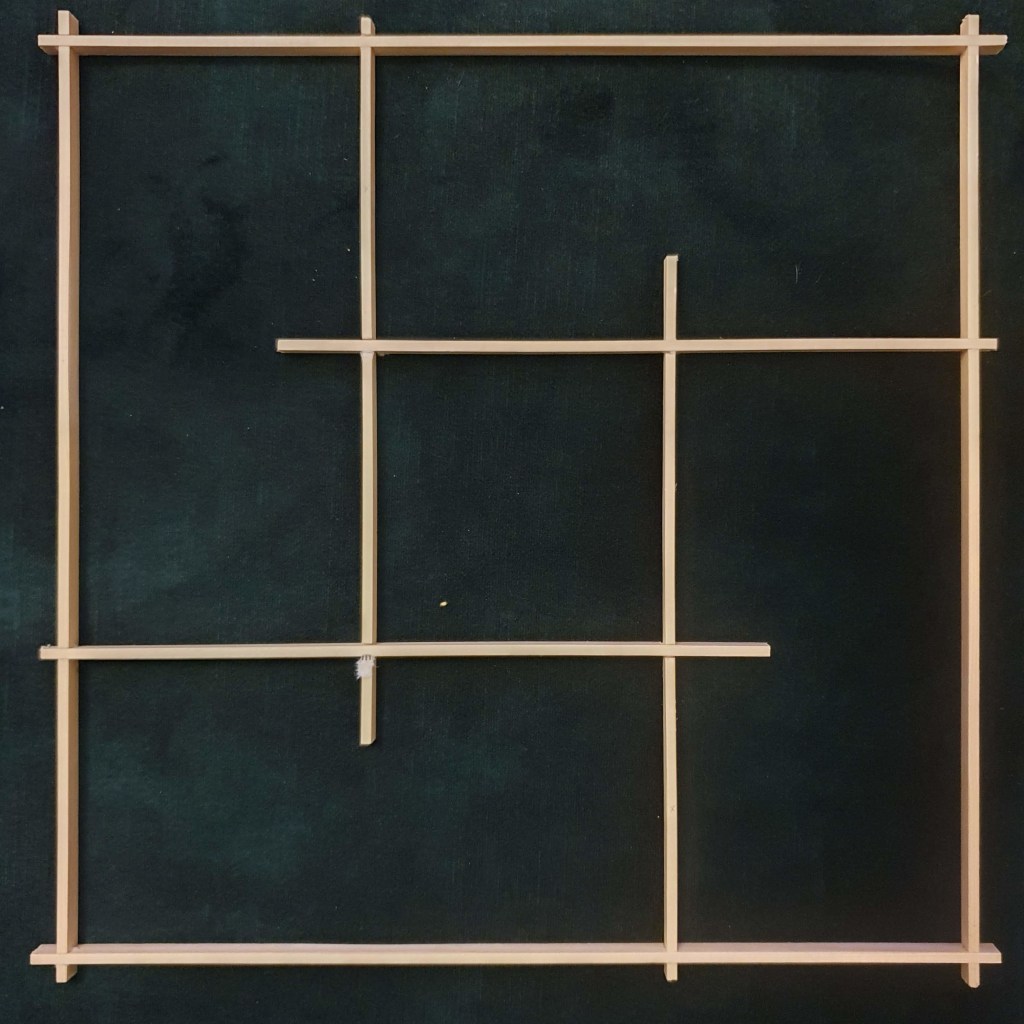
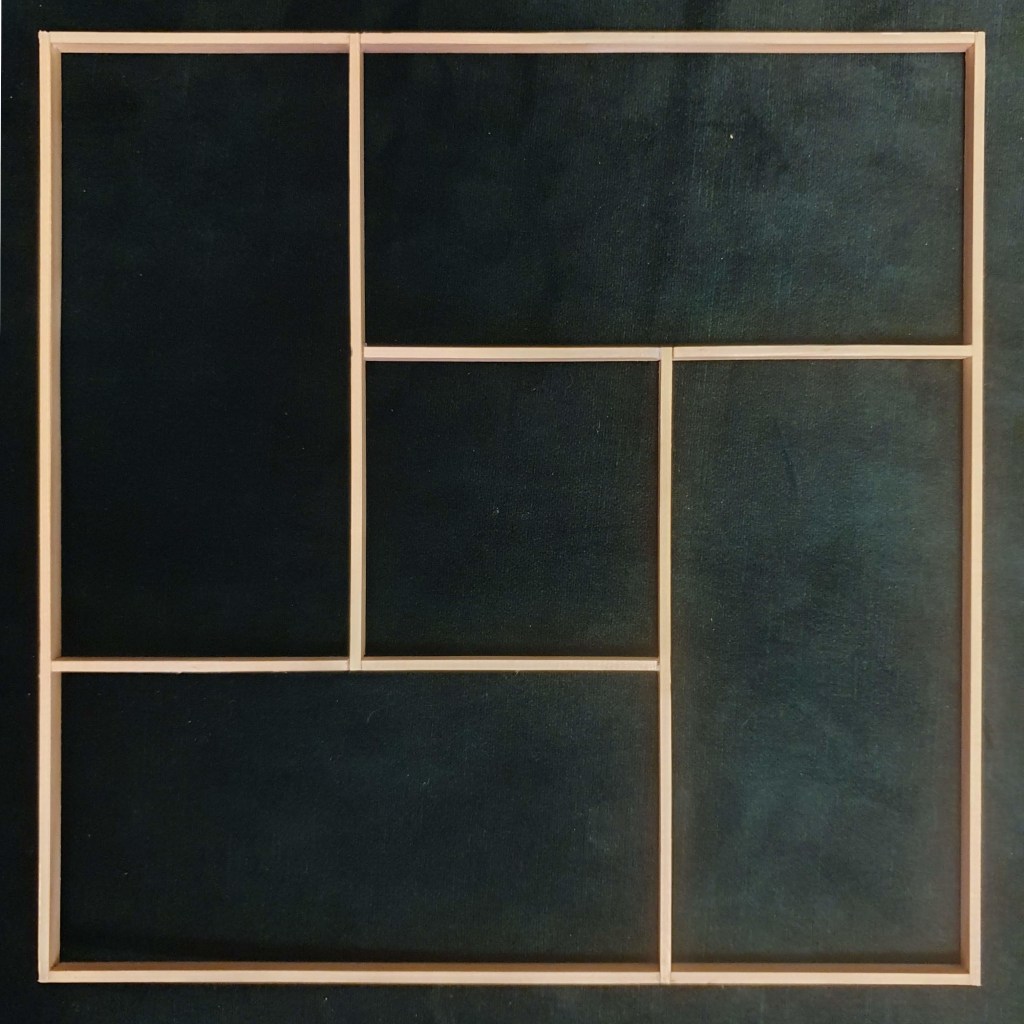
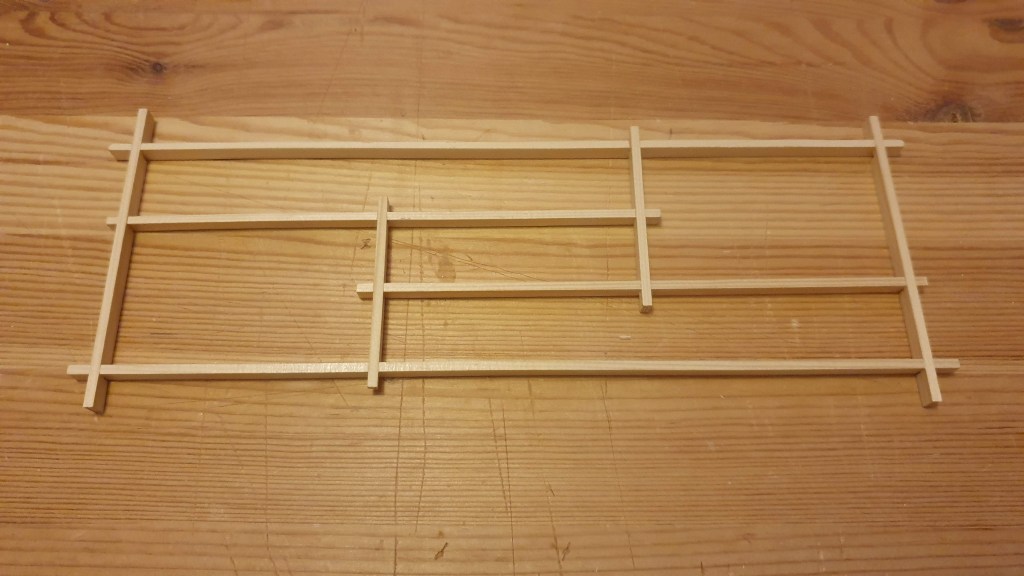
Now was the time to try assembling the main frame. Some filing was needed as the slots are never exactly the correct size.

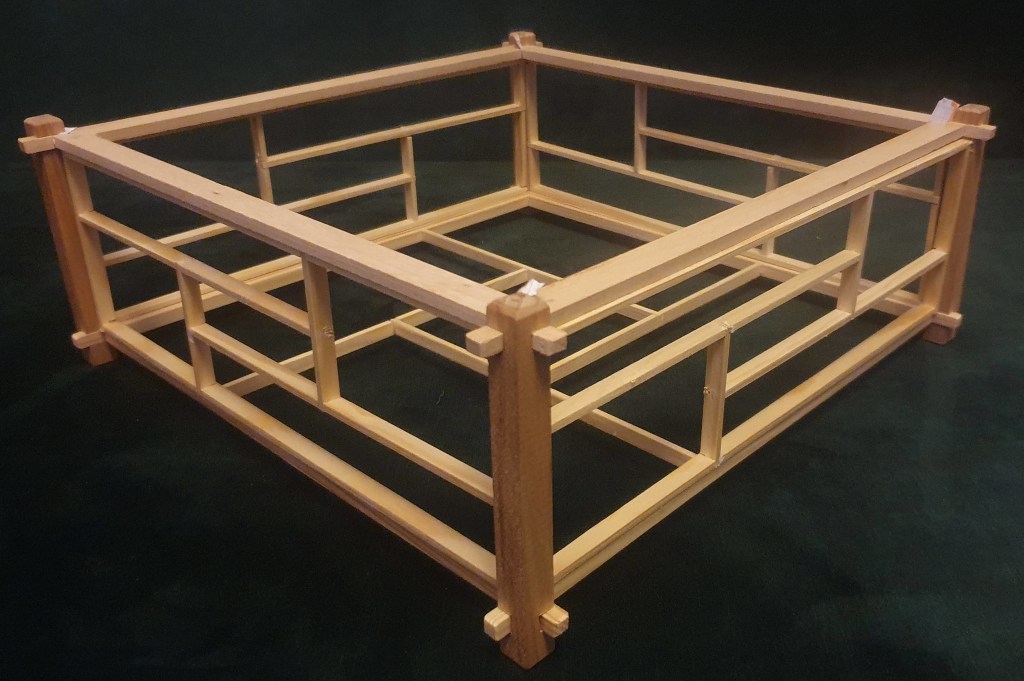
And there it is, the main frame.

Next part to be made was the bottom kumiko. However, unlike last year, this time I didn’t manage to finish the lamp before my holiday vacation ended. So the whole operation moved back to Zagreb where I could take advantage of my newly upgraded workshop. That is, if someone wasn’t sleeping on the lift bed in which cases I had to work elsewhere in the apartment. For example, these shots of fitting and trimming the bottom kumiko were taken in the living room.
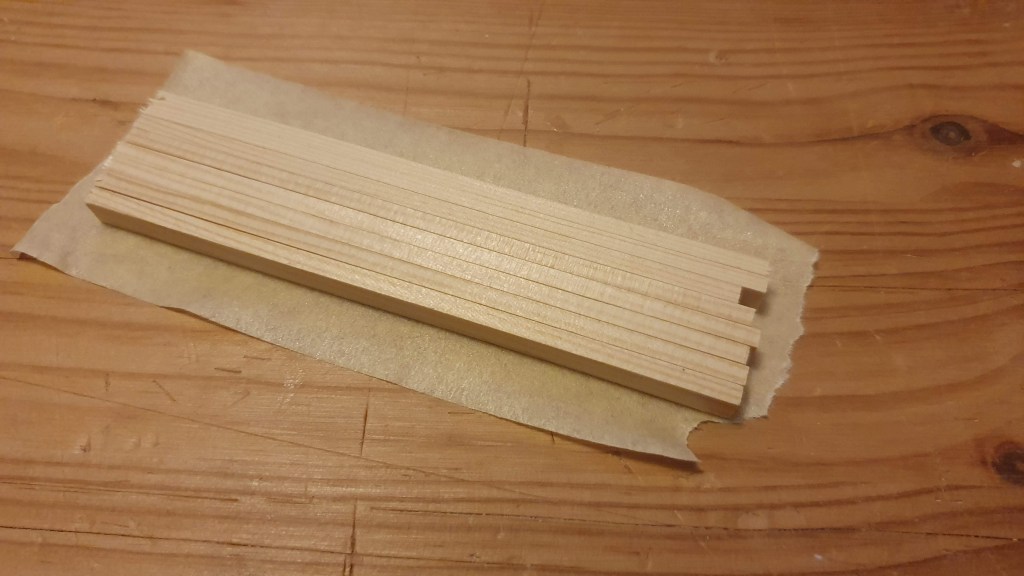
Making four side kumikos was simple and quick as the parts can be made in bulk. However, the problem was that the side panels are quite narrow which makes some of the elements too short to handle comfortably. So I used crepe tape to hold them together while processing them.
First they need to be marked. For this I used the already prepared elements of the main frame.
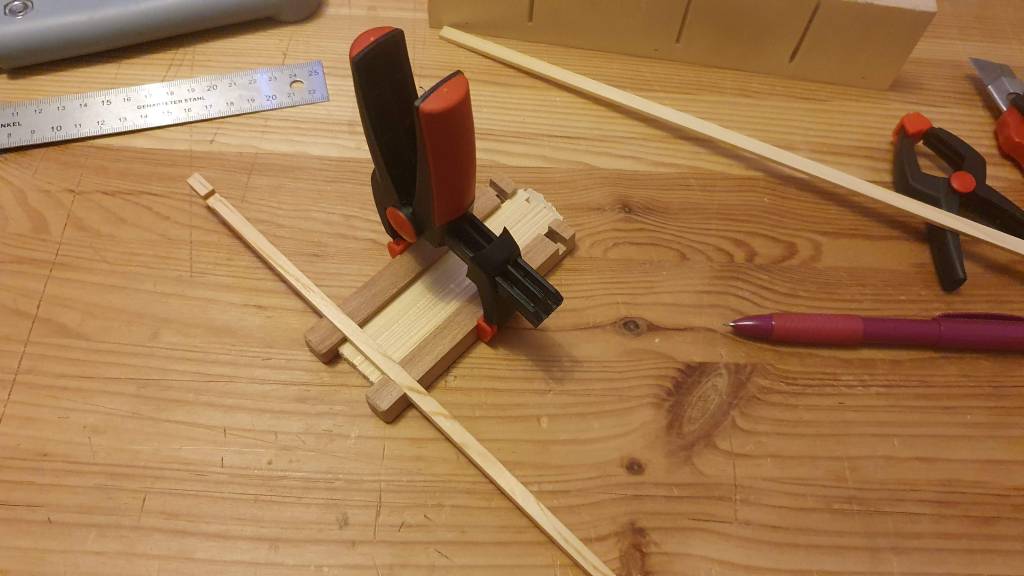
Then comes cutting, also in bulk.
Then, kumiko frames can be assembled.
Which makes the framework complete…
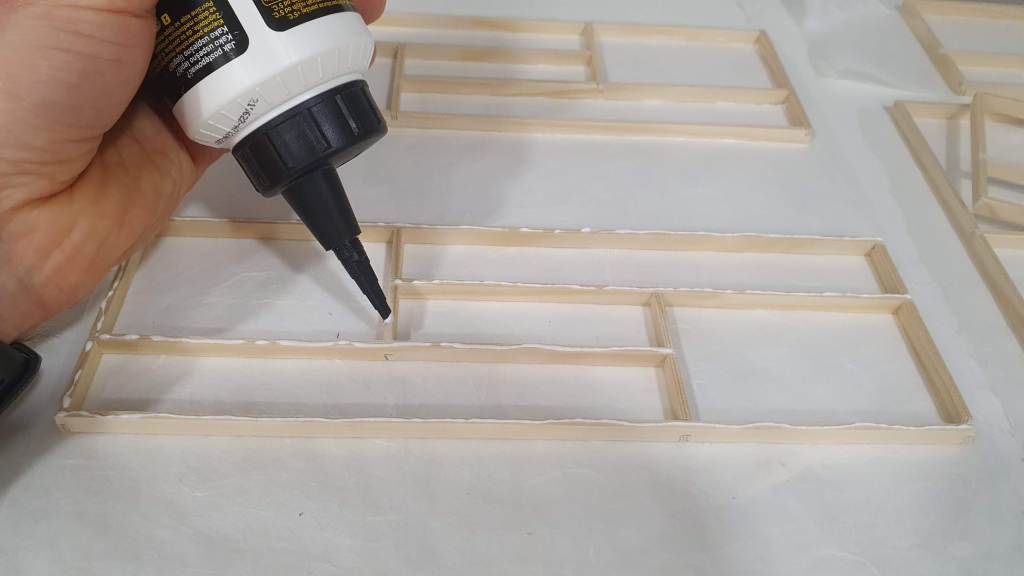
… and means it’s time to finish kumiko panels by gluing the paper on the frames.
Elements of the top frame need some holes to accommodate for the mechanism by which the shade of the lamp will be attached to the base.

Once all the cutting, drilling, and sanding is done, stiles and elements of the top and bottom frame can be painted.

Glue on kumiko panels has till then dried and extra paper removed with the help of a common scalpel.

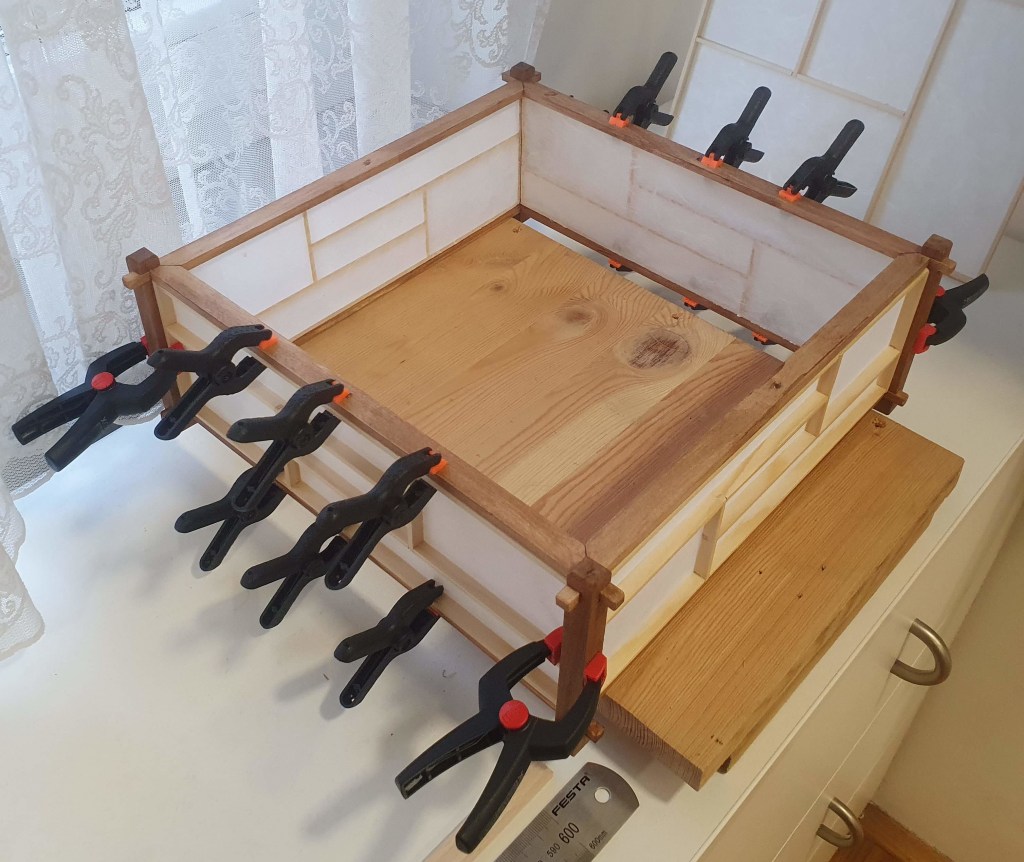
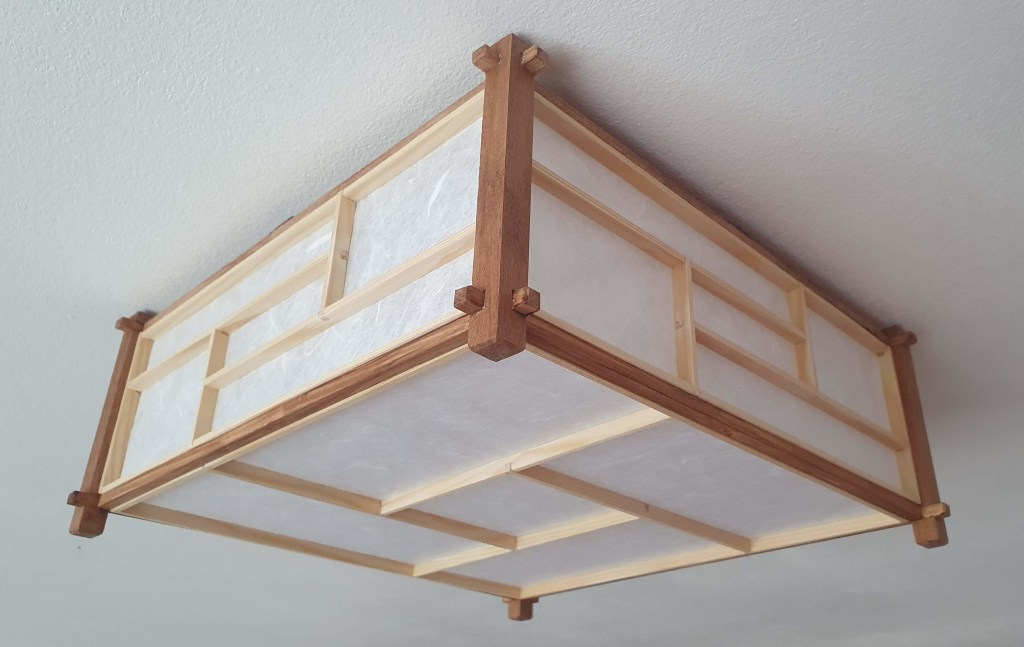
Which means that the shade is ready to be assembled. Firstly the frame has to be kept in place while the glue dries.
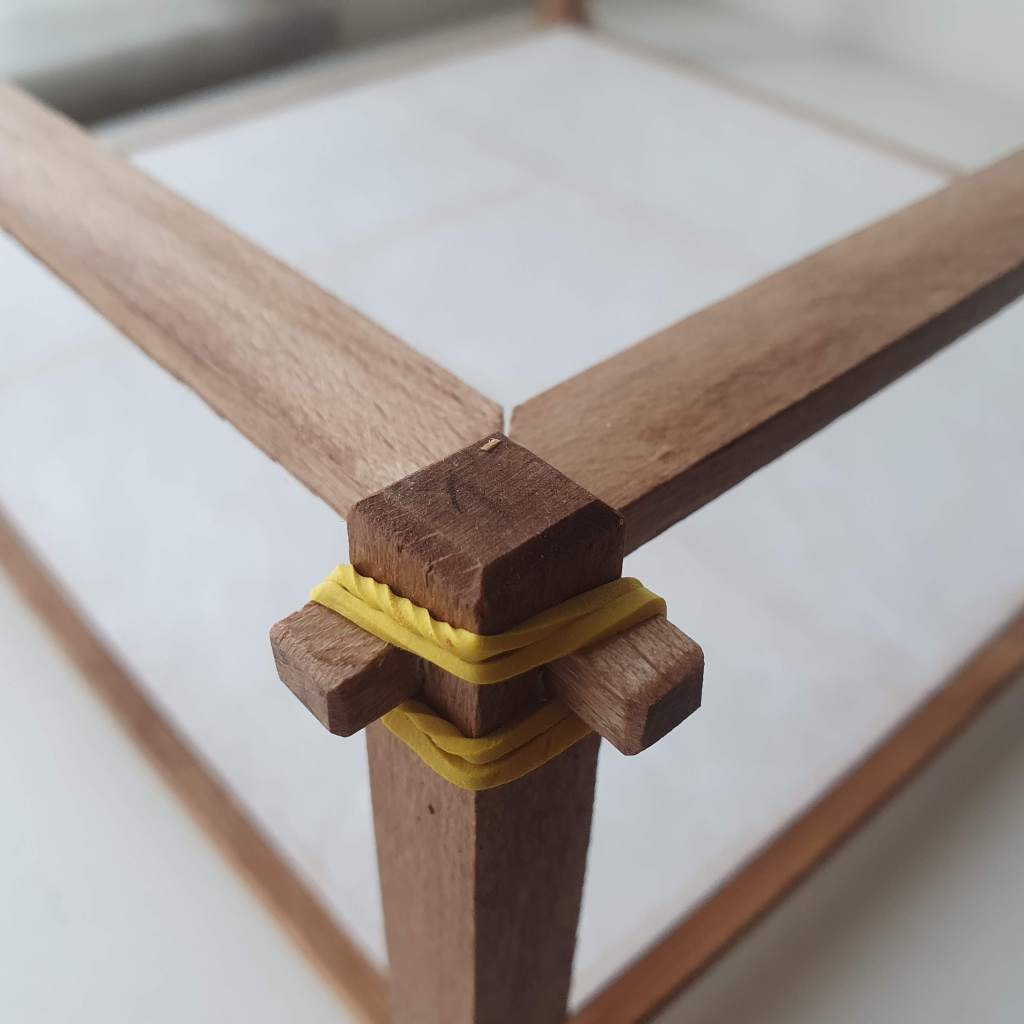
And then the same holds for the panels.
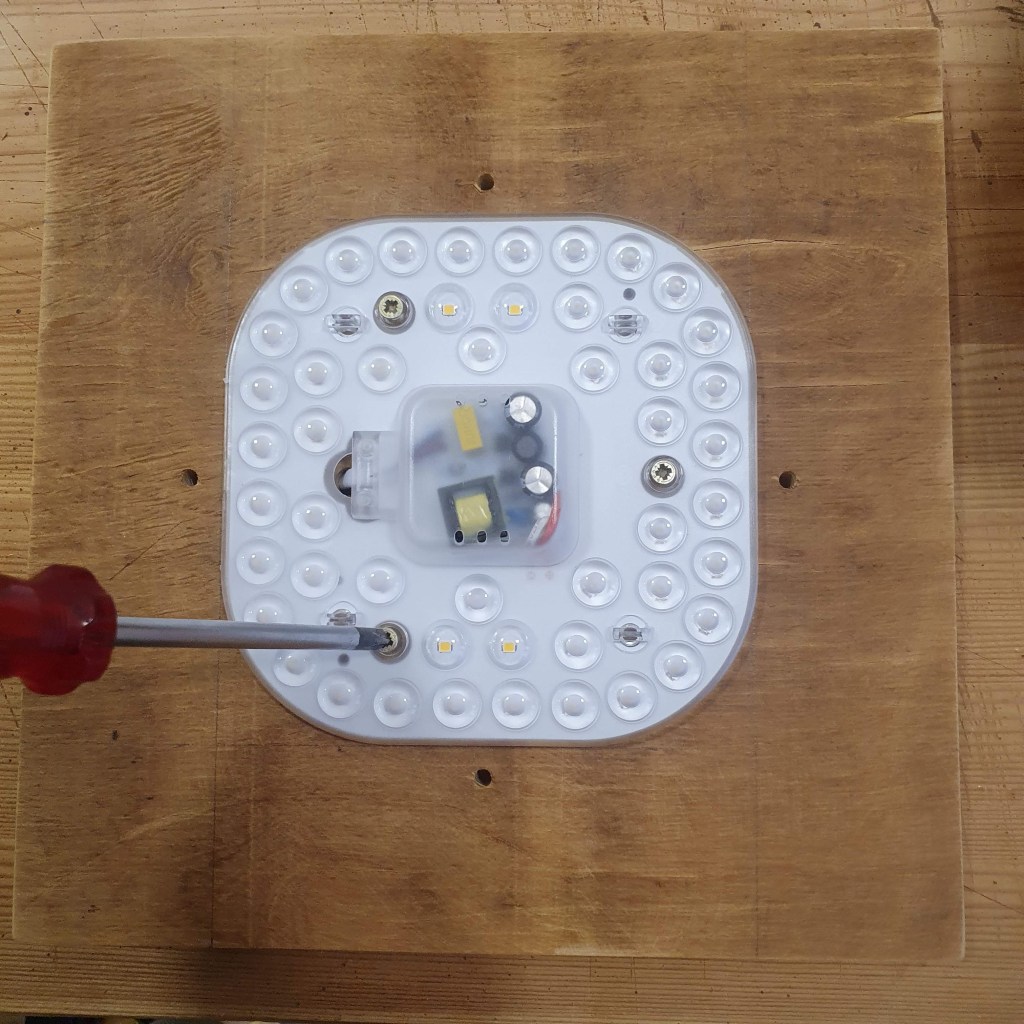
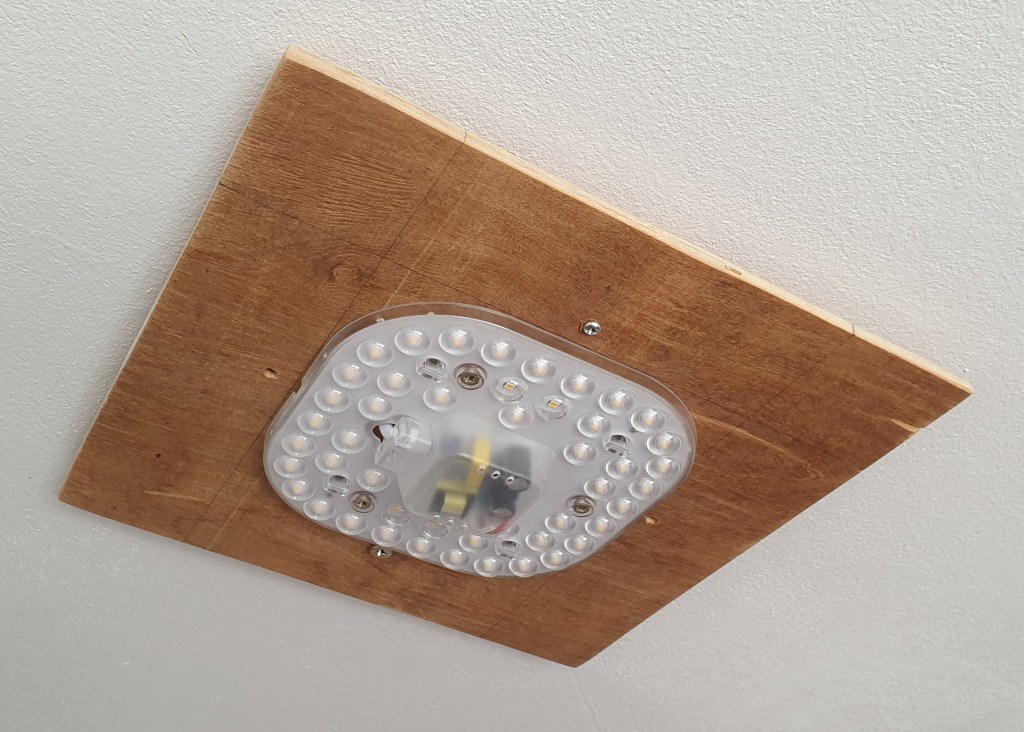
While the glue on the shade was drying, I prepared the base of the lamp. It is made of a square piece of 5 mm plywood that was generously donated and cut to size on a table saw by my father. On the bottom, I attached a LED panel.
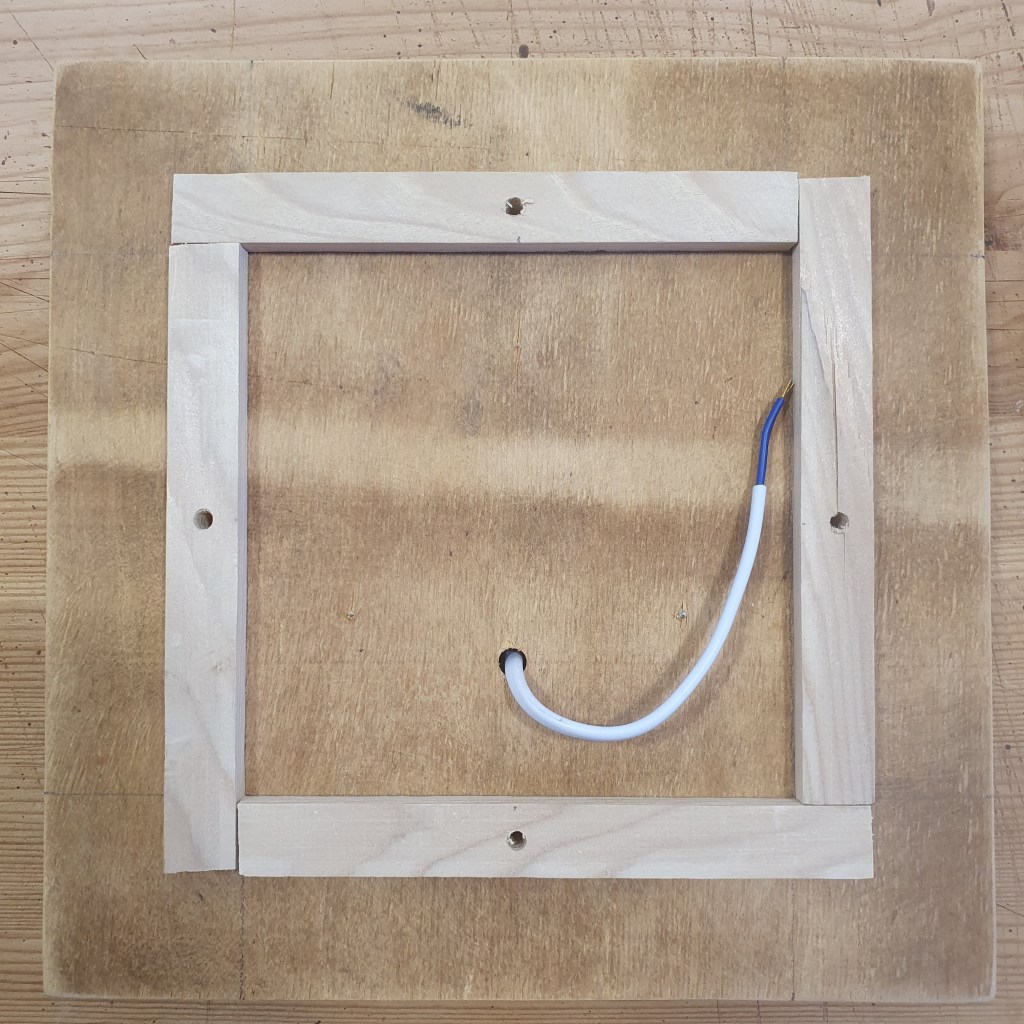
The top comprises four slats that keep the plywood base away from the ceiling so that the shade can be attached and removed at will.
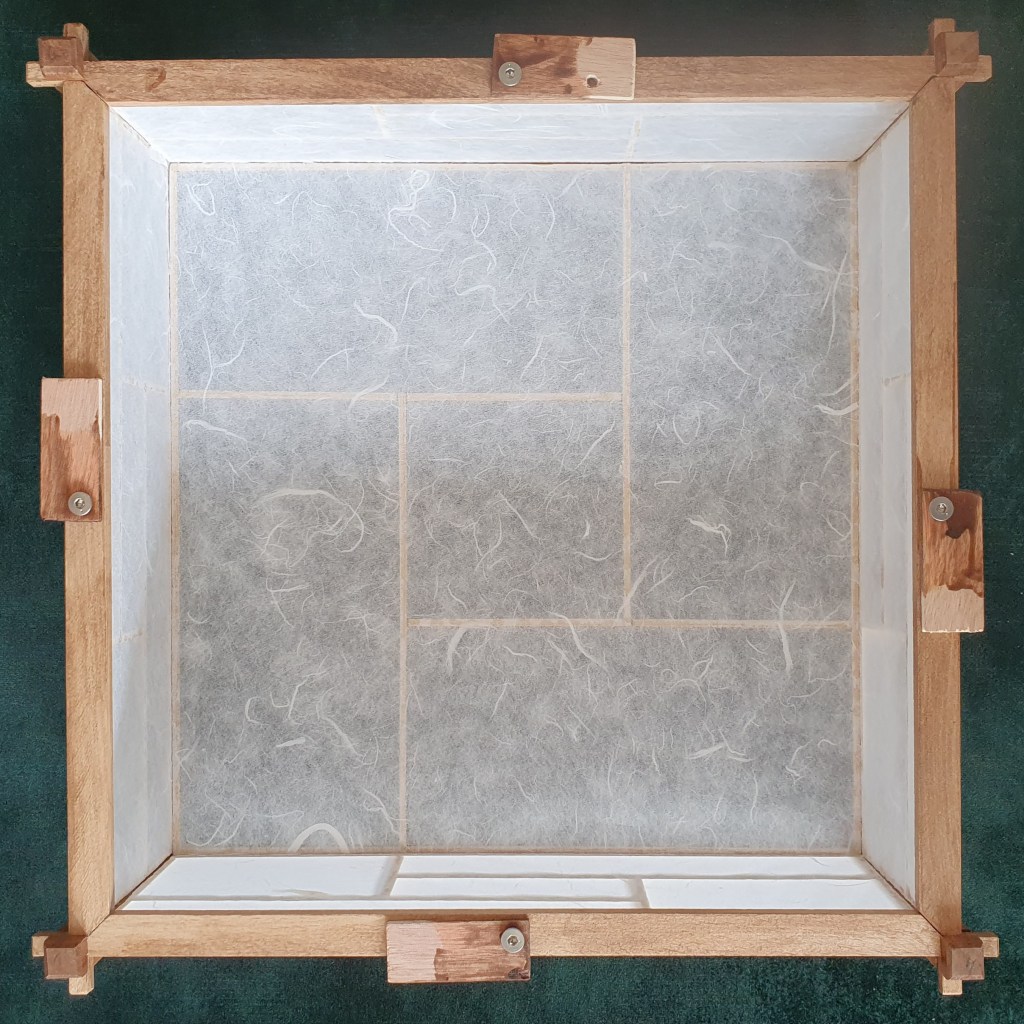
The mechanism for attaching the lamp shade to its base is made of small wooden “wings” attached to the top frame with bolts that mate with nuts built into the top frame. (Remember those holes.) Left you can see the mechanism in open (shade is free) and right in locked (attached to base) position.

The base has four holes for attaching it to the ceiling but because it and the shade are light and I really dislike drilling the concrete ceiling, I judged that two screws will be quite sufficient. I even managed to use one of the holes I drilled when I was installing the pendant in the same place so I only had to drill once!
The mechanism for attaching the shade works just as planned and is almost invisible once locked. I was quite pleased with myself at this point.
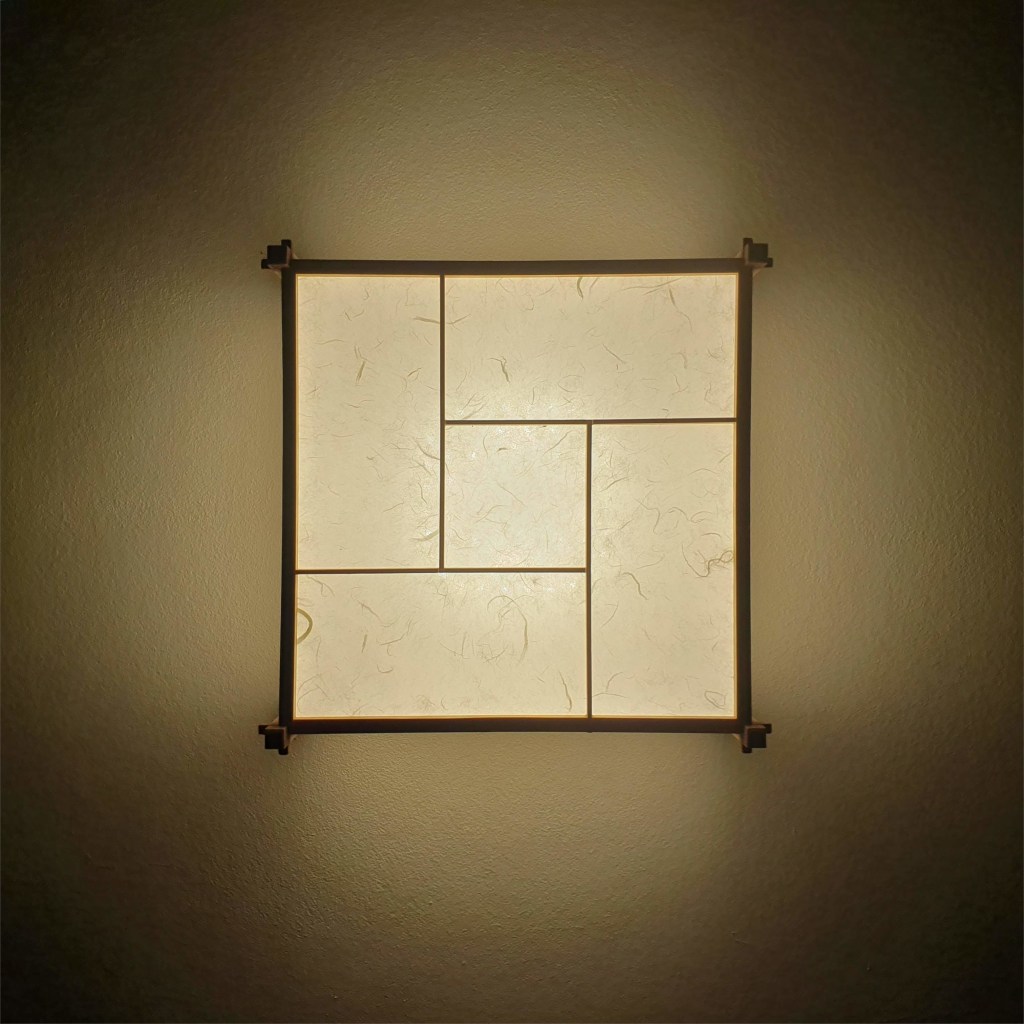
Especially when I made this frog’s-eye view of the lamp.
Next stop is making a few of these and putting them on the market. The PapeRanpu Pendants will be happy to have relatives, PapeRanpu Ceilings, for a visit. Because they are bored on the market.

Leave a comment